How to Choose Your First PC Case: Size, Airflow, and Budget Guide
The Uncomfortable Truth About Buying Your First PC Case
Size still lies.
A PC case can look massive in product photos, wear a shiny tempered-glass side panel, claim “high airflow” in six different places, and still punish your build with blocked intake, awkward radiator clearance, bad cable space, or a GPU power bend that makes future upgrades miserable. So why do beginners keep buying the box last?
Because the industry trains them to.
I’m going to be blunt: the PC case is not just furniture for your motherboard. It is the airflow path, the service bay, the cable cavity, the GPU breathing room, the radiator envelope, and the part that decides whether your first build feels clean or cursed.
And this matters more in 2026 than it did five years ago. Gartner reported that worldwide PC shipments reached 71.5 million units in Q4 2025, up 9.3% year over year, with demand tied partly to Windows 11 upgrades and inventory buying ahead of memory price pressure. Gartner later said Q1 2026 shipments hit 62.8 million units, up 4%, but warned that some growth came from inventory builds before expected price hikes. That means first-time builders are entering a market where “cheap now” can quickly become “expensive later.” Read the data from Gartner’s Q4 2025 PC shipment report and Gartner’s Q1 2026 shipment update before pretending the case market exists in a vacuum.
The hard truth? Your first PC case should be boring in the right ways.
PC Case Size Guide: ATX, M-ATX, ITX, and the Beginner Trap
Most beginners start with the wrong question: “Which case looks best?”
The better question is: “Which PC case size gives my actual parts enough room to work without forcing dumb compromises?”
There are four main size categories you will see: E-ATX, ATX, Micro-ATX, and Mini-ITX. The names are tied mostly to motherboard support, but the real-world impact goes beyond motherboard screws. Size affects GPU clearance, CPU cooler height, radiator support, cable routing, fan placement, storage bays, and how much patience you will lose during installation.
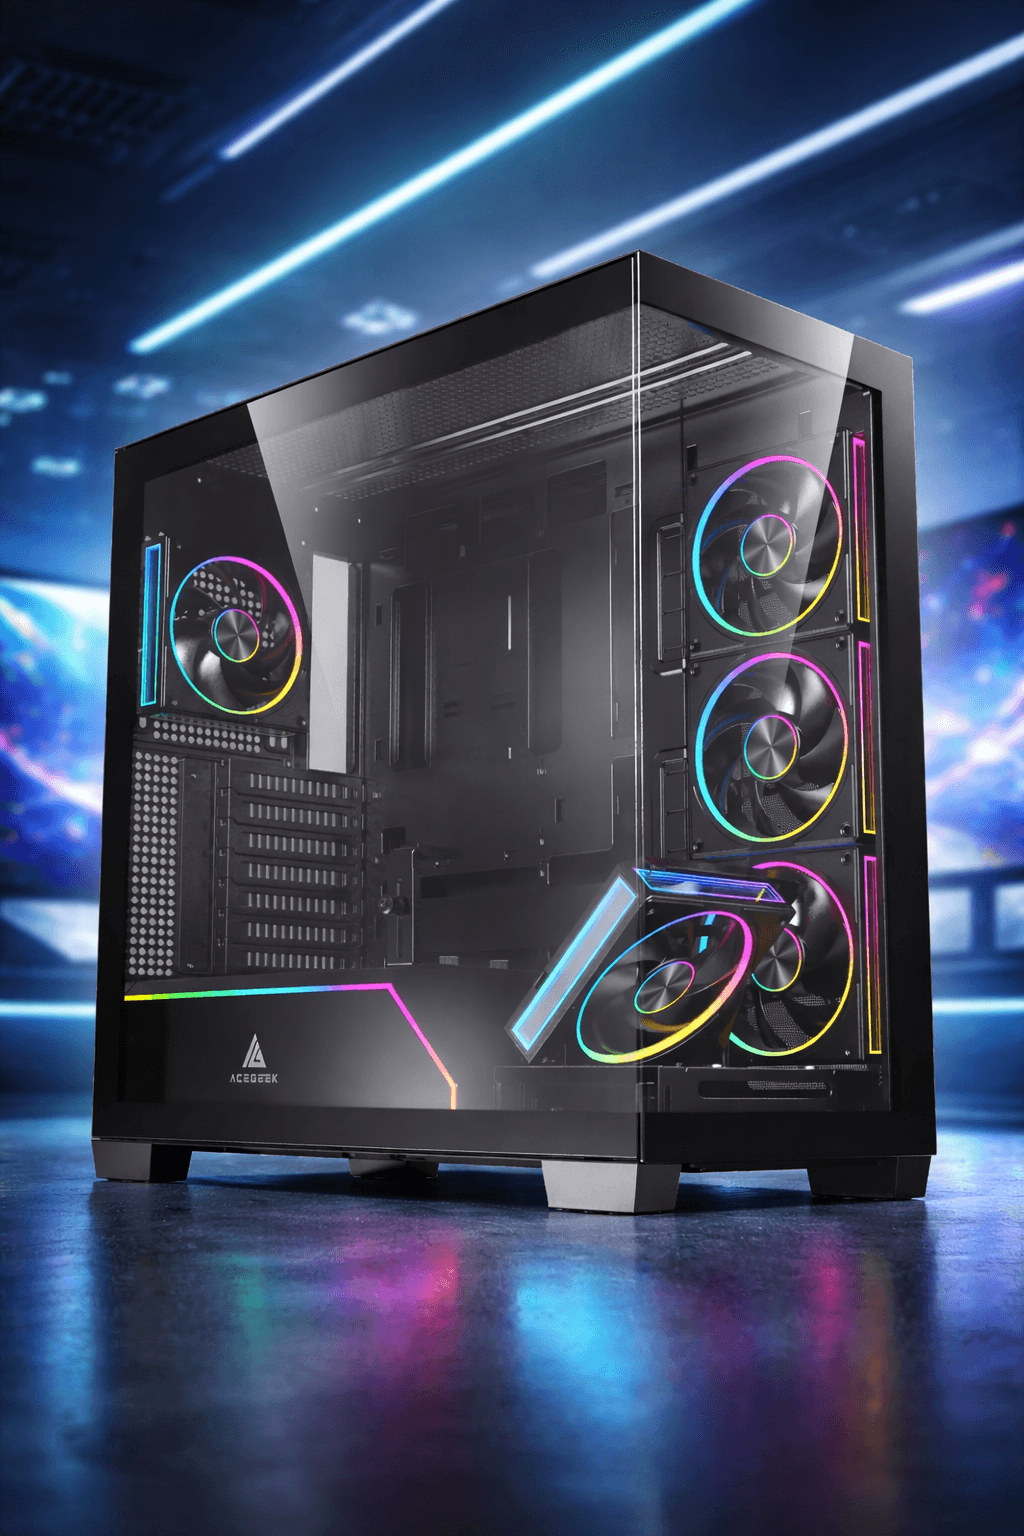
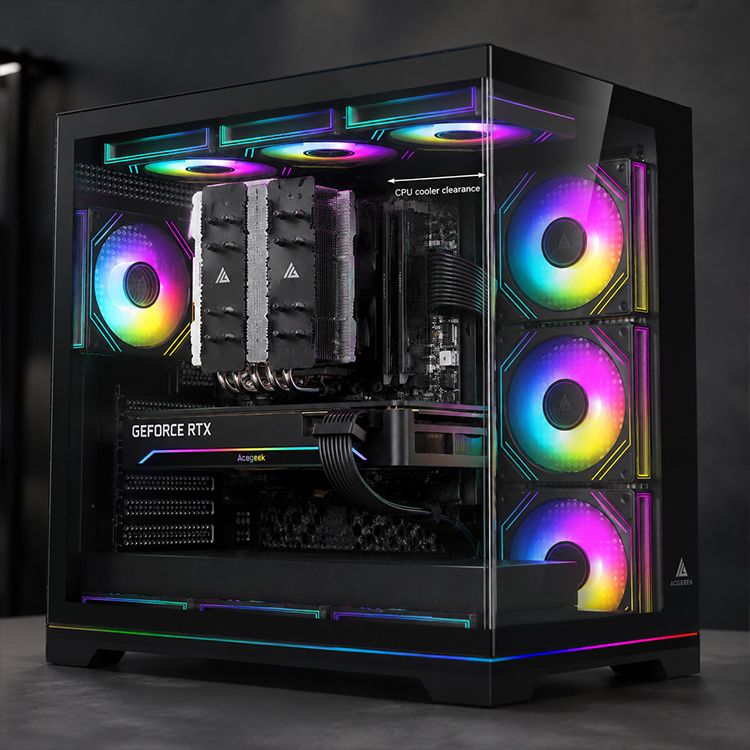
AceGeek’s own PC case lineup shows the spread clearly: compact M-ATX airflow cases, ATX cases, E-ATX chassis, mesh-front cases, curved-glass showpieces, and budget towers all live in the same category. That is useful. It is also dangerous if you shop by looks only.
Quick PC Case Size Comparison
Case SizeMotherboard FitBest ForCommon Beginner MistakeMy TakeMini-ITXITX onlyTiny desks, portable builds, minimalist setupsBuying hot parts without planning cooler height, cable paths, and PSU sizeGreat when engineered carefully; painful when improvisedMicro-ATX / M-ATXM-ATX, ITXBudget gaming, compact first builds, office/gaming hybridsAssuming all large GPUs fit because the case “supports gaming”Often the smartest budget choiceATX Mid TowerATX, M-ATX, ITXMost first gaming PCs, creator builds, balanced airflowChoosing a sealed glass front instead of a ventilated front or side intakeThe safest first-build defaultE-ATX / Large TowerE-ATX, ATX, M-ATX, ITXWorkstations, large GPUs, 360mm/420mm AIOs, custom loopsPaying for volume you never useWorth it only when the hardware needs it
Here is where I land after seeing too many beginner builds go sideways: ATX mid tower first, M-ATX second, ITX only if you know exactly why you want it.
For example, the ACEGEEK Vault M-ATX airflow budget case lists M-ATX/ITX motherboard support, 285mm max GPU clearance, 160mm CPU cooler clearance, and top 240mm radiator support. That is enough for a sensible compact build. It is not enough for every oversized GPU fantasy.
By contrast, the ACEGEEK Photon E-ATX case supports E-ATX/ATX/M-ATX/ITX, lists 420mm GPU clearance, 185mm CPU cooler clearance, bottom fan support, and a top 360mm AIO. That is a different class of chassis. Bigger, yes. Automatically better? No.
Airflow PC Case Reality: Mesh Beats Marketing
Airflow is not magic.
Good PC case airflow comes from three boring things: unrestricted intake, clean exhaust, and enough clearance around heat-producing parts. RGB fans do not fix a suffocated front panel. A glass side panel does not ruin a case by itself, but a sealed front, weak side vents, and no bottom intake can turn a good parts list into a hot, loud box.
This is why I like mesh-front and vented designs for first builds. Not because mesh is fashionable. Because beginners need margin. They need airflow that still works after imperfect cable routing, dusty filters, a warm room, and a GPU that dumps heat under load.
AceGeek’s article on case size and cooling performance makes the same point in practical terms: size alone does not guarantee cooling. And the front mesh vs tempered glass PC case design guide is the internal read I’d point to before anyone buys a glass-heavy case for a high-TDP system.
The industry loves glass because photos sell. I get it. A clean fishtank-style build with white fans and a vertical GPU looks fantastic. But if your first PC case has restricted intake and your GPU is sitting in a warm pocket of recycled air, the build will not care how good it looks on Instagram.
What airflow specs actually matter?
Look for these numbers and features:
Airflow FeatureGood Beginner TargetWhy It MattersFront intake2–3 x 120mm or 2 x 140mm fan mountsFeeds CPU and GPU with cooler room airRear exhaust1 x 120mm or 140mmGives warm air a direct exit pathTop exhaust2 x 120mm or 140mmHelps remove CPU and VRM heatBottom intakeUseful for modern GPUsFeeds graphics cards directly when designed wellDust filtersRemovable, not overly restrictiveMakes long-term cleaning realisticCable-management space20mm+ behind tray when possiblePrevents cables from blocking intakeRadiator support240mm minimum for compact AIO builds; 360mm for high-end CPUsAvoids ugly top/front clearance conflicts
Do not just count fans. Count air paths.
A case with three weak fans pressed behind a solid glass wall is not an airflow PC case. It is a marketing photograph with bearings.

Compatibility: The Checklist That Saves Your First Build
Compatibility is where first-time builders get ambushed.
A product page might say “ATX compatible,” but that does not answer the whole question. You still need to check GPU length, GPU thickness, side-panel cable clearance, CPU cooler height, PSU length, radiator thickness, RAM height, motherboard heatsink interference, front I/O headers, and fan/RGB controller support.
That sounds annoying because it is.
But it is cheaper than returning parts.
The ACEGEEK full PC part compatibility guide gets this right: a green compatibility checkmark is not the same as a build that installs cleanly. This is especially true with large GPUs and high-power CPUs.
Look at NVIDIA’s own RTX 5090 reference details. NVIDIA lists the GeForce RTX 5090 Founders Edition at 304mm length, 137mm width, 2-slot design, 575W total graphics power, and 1000W required system power, while also advising builders to plan 36mm additional space for power cables in case clearance checks. That is not trivia; that is side-panel survival data from NVIDIA’s RTX 5090 specifications.
Now pair that with a hot CPU. Intel lists the Core Ultra 9 285K with 125W processor base power and 250W maximum turbo power in its official specifications. That means your case choice, cooler position, fan curve, and radiator clearance are not decoration. They are the difference between a quiet machine and a desk heater with LEDs. See Intel’s own Core Ultra 9 285K specification page.
The First-Build PC Case Compatibility Checklist
Before buying a PC case, write these numbers down:
CheckpointWhat to VerifySafe Beginner RuleMotherboard supportATX, M-ATX, ITX, E-ATXMatch the board size exactly, then allow extra spaceGPU clearanceGPU length, thickness, and power cable bendLeave at least 20–40mm extra beyond GPU lengthCPU cooler clearanceAir cooler height in mmLeave 5–10mm above the cooler specRadiator supportTop/front/side support and thicknessCheck radiator + fan thickness, not radiator size alonePSU lengthPSU body plus cable exit roomModular PSUs still need cable spaceFront I/OUSB-C, USB 3.0, audio, headersDo not buy USB-C front I/O if your board lacks the headerFan support120mm/140mm locationsPrefer direct intake to the GPU and clear exhaustStorage2.5-inch SSD, 3.5-inch HDD baysConfirm before assuming old drives fitDust accessRemovable front/top/bottom filtersIf cleaning is annoying, you will not do it
Tiny mistake. Big invoice.
The ugliest case failure I see beginners make is not “wrong motherboard.” It is buying a case that technically fits the GPU but leaves no sane cable bend, no intake path, and no room to work. Then they blame the graphics card, the fans, the thermal paste, the BIOS, and sometimes gravity.
No. The box was wrong.
Budget PC Case Advice: Spend Where It Prevents Regret
A budget PC case should save money without stealing performance.
That is the line.
A cheap case becomes expensive when it forces extra fans, blocks GPU airflow, makes cable routing ugly, limits cooler upgrades, lacks USB-C you later need, or bends like a soda can when you remove the side panel. I am not saying everyone needs a premium chassis. I am saying the lowest price is often a trap wearing a tempered-glass window.
Reuters reported in May 2026 that Lenovo raised PC prices to offset soaring memory costs, while memory chip prices had doubled in the first quarter and were forecast to rise further because of AI data center demand. That pressure does not stop at laptops; it shapes buyer behavior across the whole PC parts chain. Read the Reuters report on Lenovo, PC demand, and rising memory costs.
So here is my budget rule:
Spend enough on the case to avoid replacing it during your next GPU or cooler upgrade.
For most first builds, that usually means prioritizing:
Mesh or well-vented intake
At least one rear exhaust mount
Enough GPU clearance for the class of card you might buy next
Reasonable cable-management depth
Removable filters
Front I/O that matches your motherboard
A layout that supports 240mm or 360mm cooling if your CPU plan demands it
A budget case does not need seven ARGB fans. It needs a sane frame.
If you are shopping inside AceGeek’s own catalog, the ACEGEEK Stellar ATX airflow budget case is the kind of page where I would look at numbers first: ATX/M-ATX/ITX support, 325mm GPU clearance, 160mm CPU cooler clearance, and front/top/rear fan locations. Then I would compare that against the GPU and cooler I actually plan to buy.
That is the process. Not vibes. Not “it looks clean.” Numbers.
The Safety Lesson Nobody Wants in a Pretty Build Guide
Here is the case study that should make every first-time builder more suspicious of “it probably fits.”
In 2021, the U.S. Consumer Product Safety Commission announced an NZXT H1 computer case recall because metal screws attaching the PCIe riser assembly to the chassis could short the printed circuit board and overheat, creating a fire hazard. The recall covered about 32,000 units in the U.S. and about 1,024 in Canada, according to the CPSC NZXT H1 recall notice.
That was not a beginner cable-management mistake. That was a design and safety failure.
The lesson is not “never buy compact cases.” The lesson is that case design matters down to screws, risers, clearances, and electrical paths. When a case includes vertical GPU mounts, riser cables, unusual layouts, controller hubs, ARGB boards, or tight GPU chambers, you should slow down and read the fine print.
Skeptical builders live longer.
My Practical Recommendation: Choose the Case Last, But Research It Early
This sounds contradictory. It is not.
Research the PC case early so you understand size, airflow, and budget limits. But do not finalize it until you know your motherboard size, GPU length, CPU cooler height, PSU length, radiator plan, and storage needs.
For a first build, I would use this order:
Decide the CPU and GPU class.
Pick the motherboard size: ATX, M-ATX, or ITX.
Choose air cooling or AIO cooling.
Check the GPU length, thickness, and power connector clearance.
Pick the case size.
Confirm airflow path.
Confirm front I/O.
Confirm budget.
Buy the case.
And yes, I would rather see a beginner buy a plain black airflow-focused ATX mid tower than a beautiful glass cube that turns every upgrade into finger surgery.
FAQs
What PC case should I buy for my first build?
Your first PC case should be an airflow-focused ATX or M-ATX case that fits your motherboard, GPU, CPU cooler, PSU, storage drives, front-panel headers, and future upgrade path while leaving extra clearance for cables, fans, and cleaning access. For most beginners, an ATX mid tower is the safest default.
After that, choose based on your actual parts list. If you are using a mid-range GPU and a standard tower air cooler, an M-ATX airflow case can be excellent. If you want a high-end GPU, 360mm AIO, or E-ATX motherboard, move up to a larger ATX or E-ATX chassis.
Is a bigger PC case better for airflow?
A bigger PC case is better for airflow only when its extra space creates cleaner intake, better exhaust, larger radiator support, improved cable routing, and more direct air access to the GPU and CPU cooler. A badly ventilated large case can run hotter than a smaller case with smarter mesh intake.
Do not buy size for ego. Buy airflow path. A full tower with blocked front intake is still a bad thermal design, while a compact mesh case with direct GPU intake can perform surprisingly well.
How much should I spend on a budget PC case?
A budget PC case should cost enough to provide safe structure, usable airflow, correct motherboard support, realistic GPU clearance, removable dust filters, decent cable routing, and front I/O that matches your motherboard without forcing immediate fan or cooler upgrades. The cheapest case is not cheap if it limits your next upgrade.
I would rather cut decorative ARGB than cut airflow. Spend on mesh, clearance, fan mounts, build quality, and serviceability first. Lighting comes later.
How do I know if my GPU fits a PC case?
A GPU fits a PC case only when the case supports the card’s full length, thickness, expansion-slot width, power connector position, and side-panel cable bend space with extra clearance left for airflow. Checking length alone is not enough for modern RTX and Radeon cards.
Use the exact GPU model page, not just the chipset name. One RTX 4070, RTX 4080, or RTX 5090 card can be much longer or thicker than another. Add cable clearance before trusting the case spec.
Is tempered glass bad for PC airflow?
Tempered glass is bad for PC airflow only when it blocks intake or replaces useful ventilation without adding side, bottom, top, or rear airflow paths. A glass side panel is usually fine, but a sealed glass front panel can starve fans and raise GPU, CPU, and internal case temperatures.
If you want glass, look for side ventilation, bottom intake, large side fans, or a hybrid mesh layout. Pretty is allowed. Suffocated is not.
Should I choose an ATX or M-ATX PC case for a first gaming PC?
An ATX PC case is usually better for a first gaming PC if you want easier building, more cable room, stronger cooling options, longer GPU clearance, and more upgrade flexibility, while an M-ATX case is better when budget, desk space, and compact size matter more than maximum expansion.
My honest answer: ATX if you are nervous, M-ATX if you are disciplined, ITX if you enjoy measuring things twice and bleeding once.
Your Next Steps Before You Buy a PC Case
Do not buy the prettiest case in your cart yet.
Open your CPU, GPU, motherboard, cooler, and PSU product pages. Write down the ugly numbers: motherboard size, GPU length, GPU thickness, power connector clearance, CPU cooler height, radiator size, radiator thickness, PSU length, fan layout, storage bays, USB-C header support, and total budget.
Then compare those numbers against the ACEGEEK PC case catalog, cross-check your full parts list with the PC part compatibility guide, and pick the case that gives your hardware room to breathe—not just room to pose.