How Front Panel Design Affects PC Case Cooling
Airflow starts here.
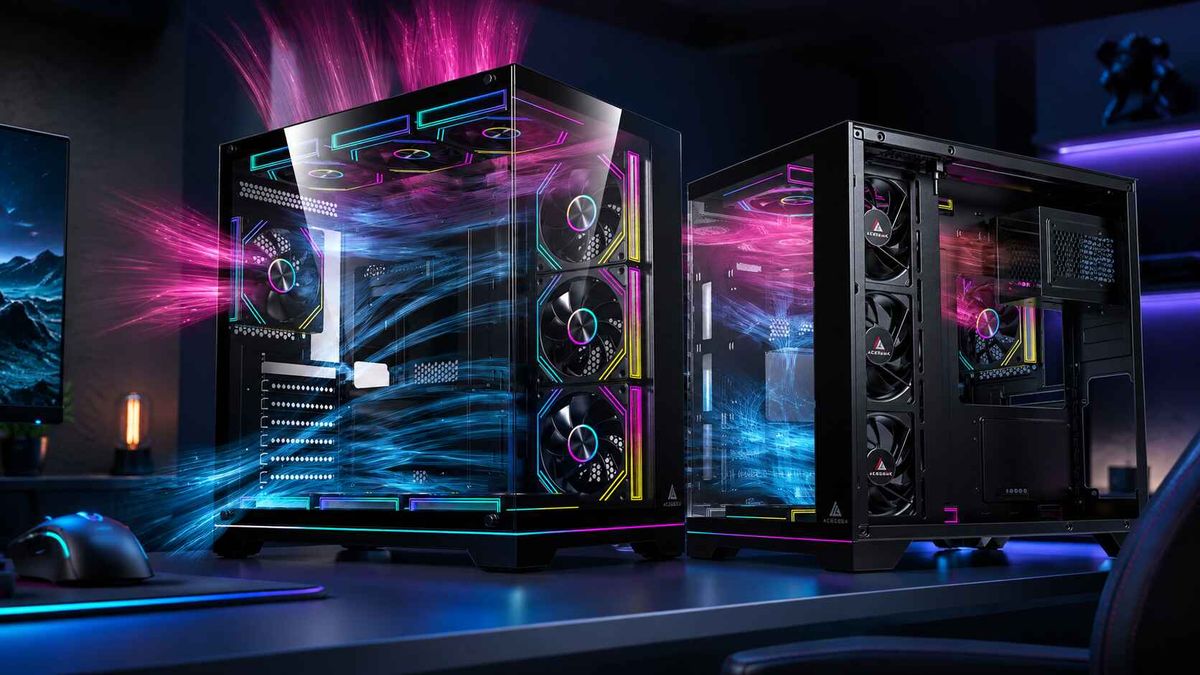
The front panel controls how easily intake fans can obtain cool room air, how much pressure they must overcome, how directly that air reaches the graphics card, and how loudly the entire cooling system must operate during sustained gaming or rendering loads.
So why is it still treated like decoration?
That mistake has become more expensive. NVIDIA rates the GeForce RTX 5090 Founders Edition at 575W Total Graphics Power, while Intel lists the Core i9-14900K at 253W Maximum Turbo Power. Put both behind an intake path designed mainly for photography, and the case may need to remove more than 800W of component heat before motherboard losses, storage, memory, and power-supply waste are considered. NVIDIA’s official RTX 5090 specifications and Intel’s Core i9-14900K specifications make the thermal direction obvious. truth is simple: the front panel is an upstream restriction. Every intake fan, dust filter, radiator, CPU cooler, and GPU cooler downstream must live with that decision.
The Front Panel Is the First Thermal Decision
A case fan does not produce its advertised airflow automatically. Its cubic-feet-per-minute rating is usually measured under controlled conditions, while an installed fan must pull air through mesh, filters, side slots, decorative plastic, drive cages, radiators, cables, and internal pressure zones.
Add resistance and the fan moves less air.
This is why two cases carrying three 120mm front fans can behave completely differently. One may expose nearly the entire fan diameter through perforated steel. The other may place the same fans behind glass, leaving two narrow side channels to supply all three.
The fan count matches. The cooling does not.
For builders still selecting a chassis, AceGeek’s 2026 gaming PC case buying guide correctly treats intake design, GPU clearance, radiator support, fan control, and dust filtration as connected decisions rather than separate specification boxes. Its current case range includes mesh, panoramic, side-intake, bottom-intake, and multi-zone layouts, which can be compared through the AceGeek PC case collection. Area Matters More Than the Word “Mesh”
Not every mesh front panel is good.
A panel may look porous while using tiny perforations, thick decorative ribs, multiple filtration layers, or a large plastic frame that blocks substantial fan area. Tom’s Hardware found that the BitFenix Enso Mesh still produced weak thermal performance because its stock configuration included only one 120mm intake and one 120mm exhaust fan. Mesh could not compensate for inadequate airflow hardware. simple editorial test when reviewing a case design:
How much of each intake fan is physically exposed?
How far is the panel from the fan blades?
How many restrictive layers sit in front of the fan?
Does the lower intake deliver air directly to the GPU?
Can hot air leave without crossing the intake stream again?
The mesh label answers none of those questions.
The Lower Intake Zone Often Decides GPU Temperature
The top half of a front panel usually feeds the CPU cooler or top radiator. The lower half feeds the graphics card.
That lower zone matters because modern GPUs commonly use large axial fans that pull air from below and discharge heated air into the case. If a PSU shroud, solid panel section, cable bundle, or decorative front structure blocks the lower intake, the GPU begins recycling warmer internal air.
And then people blame the graphics card.
A strong front panel should preserve usable ventilation near the bottom fan position, not merely around the top logo and RGB strips. Side and bottom intake can also work, but the air must have a clear destination.
Test Data: Mesh Usually Wins, but Geometry Can Rescue Glass
Independent testing gives us something more useful than marketing language: temperature differences measured on real hardware.
The results below show why I reject both lazy extremes. “Glass is always bad” is inaccurate. “The front panel barely matters” is worse.
Independent testPanel or configuration changeMeasured resultWhat it demonstrates Tom’s Hardware: Fractal Meshify C Meshify C compared with the more closed Define CMeshify C CPU temperature was 8 K lower, but nearly 3 dB louderLow-restriction mesh can produce a large cooling gain while allowing more component noise to escapeGamersNexus: Meshify C vs. Define CMesh front compared with a more restrictive frontGPU delta improved by about 1.7°C in torture testing and 2.4°C in gamingThe front panel can affect GPU boost behavior even when CPU differences appear smaller Tom’s Hardware: Cooler Master H500M Mesh insert exchanged for tempered glassCPU temperature changed by only about 1°C; GPU results were effectively similarWide side vents and two 200mm fans can make a glass-front design work GamersNexus: BitFenix Enso Restrictive front panel removedGPU temperature improved by 10.1°CSevere intake restriction cannot always be repaired by adding another fan GamersNexus: Cooler Master H500P Front panel removedGPU temperature improved by roughly 5°C, with a larger CPU benefitLarge fans still suffer when their supply path is obstructed
These are not directly interchangeable laboratory trials; the platforms, workloads, fans, and cases differ. But the pattern is difficult to dismiss. Restrictive fronts can cost anywhere from a small margin to a double-digit temperature difference, while a properly engineered glass layout may perform nearly as well as mesh. M result is especially important. Its tempered-glass front did not become a thermal disaster because large side vents continued feeding two 200mm intake fans. The case had an alternative air path.
That is engineering.
By contrast, the BitFenix Enso improved by 10.1°C at the GPU when its front panel was removed. Adding a front fan did not solve the underlying problem and actually produced a worse GPU result in that particular test configuration. More fans were not the answer because the intake remained the bottleneck. Glass, and Hybrid Panels Change More Than Temperature
The best front panel design for cooling is not necessarily the design with the lowest single temperature result. Buyers must also account for acoustics, filtration, maintenance, radiator performance, and fan behavior.
Mesh Front Panel PC Cases
A mesh front panel PC case normally provides the safest thermal starting point because intake fans face less resistance and can supply cooler air at lower rotational speed.
Typical advantages include:
Better CPU and GPU temperatures under sustained load
More effective front radiator performance
Stronger scaling when additional intake fans are installed
Lower fan speed for a given cooling target
More direct airflow toward the GPU
But mesh also exposes more fan and component noise. The Fractal test showed almost 3 dB more noise escaping through the open front, even while the CPU ran 8 K cooler. The user therefore gains thermal headroom but loses some passive acoustic isolation. o requires maintenance. Fine filters can become a second front panel after dust accumulates, gradually turning an airflow-optimized PC case into a restricted one.
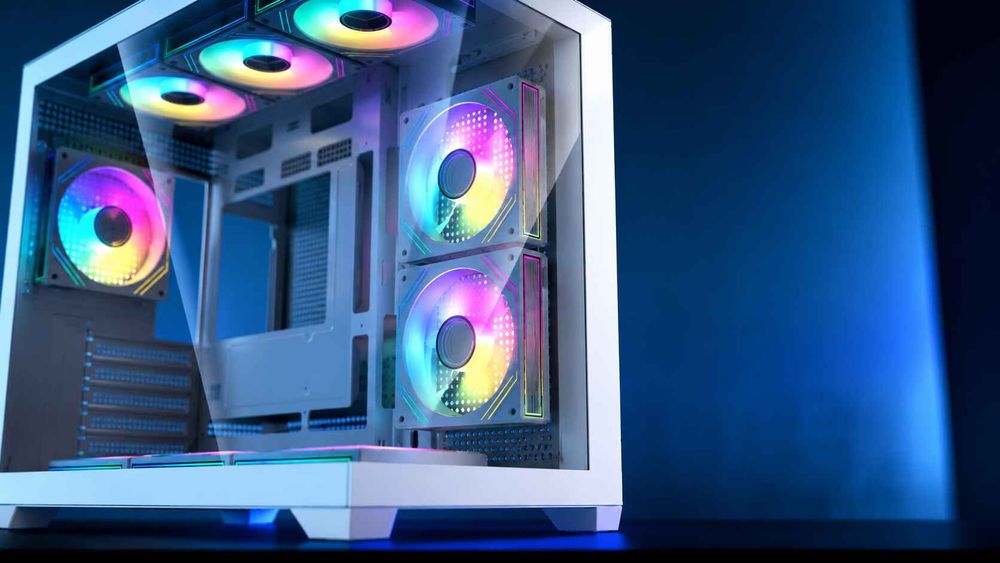
Tempered Glass Front Panels
A tempered glass front panel blocks direct airflow through its surface, so intake must come from side slots, lower openings, or another section of the chassis.
Glass can work when the surrounding structure provides:
Wide side intake channels
Sufficient distance between the glass and fans
Large 140mm or 200mm intake fans
Direct bottom or side intake
Minimal internal obstruction
Sensible exhaust capacity
What I dislike is not glass. It is unproven glass.
A narrow slot running along one edge may look like ventilation in a product photograph but offer little usable area once a dust filter, fan frame, and decorative trim are included. Buyers should demand thermal evidence, not adjectives.
AceGeek’s front mesh versus tempered glass case analysis reaches the same practical conclusion: front mesh is the safer default, while glass requires stronger supporting geometry. id and Multi-Zone Intake Designs
Hybrid cases move beyond the old choice between a solid glass wall and a conventional mesh rectangle.
A modern chassis may combine:
Curved mesh with a glass side panel
Glass at the front with side-mounted intake fans
Bottom intake aimed directly at the GPU
Ventilated front edges with large internal spacing
Separate airflow zones for CPU and GPU cooling
For example, the AceGeek LunarisFlow uses a curved mesh design while supporting three 120mm or 140mm fans at the side, three at the bottom, one at the rear, and up to a 420mm top radiator. It also lists 400mm GPU clearance and 180mm CPU-cooler clearance, illustrating how panel shape, internal volume, intake placement, and component clearance must be evaluated together. more cases to follow this path. The old front-intake/rear-exhaust tunnel remains effective, but GPUs have become large enough and power-dense enough that bottom and side intake now deserve equal attention.
How to Judge Front Panel Airflow Before Buying
Product photographs are poor thermal instruments. Use a repeatable inspection process instead.
Check the Actual Intake Path
Look past the visible outer panel. Trace the path from room air to the fan blades.
Ask:
Is the intake directly in front of the fans or around a 90-degree corner?
Are side openings available on both sides?
Does the lower fan receive the same opening area as the upper fans?
Is a fine nylon filter stacked behind perforated steel?
Does the front structure sit close enough to cause turbulence near the blades?
Can the filter be removed for testing and cleaning?
A panel that forces air through several turns and layers will normally require more fan speed than a direct mesh opening.
Match Fan Type to Resistance
High-airflow fans work well in open locations. Fans designed for higher static pressure are more appropriate when pulling through a radiator, dense filter, or restrictive panel.
But this distinction has limits.
A pressure-optimized fan cannot make a sealed wall disappear. It may improve flow through a moderate restriction, but it cannot recover all the intake area lost to solid glass or plastic.
Fan control also matters. A four-pin PWM fan can change speed more precisely in response to CPU or GPU temperature, allowing a case to remain quiet at idle and increase airflow under load. AceGeek’s 3-pin versus 4-pin PC fan guide explains the control difference in greater detail. With the Front Panel Removed
This is the simplest diagnostic test I trust.
Run the same workload twice:
Test with the case fully assembled.
Record ambient temperature, CPU temperature, GPU temperature, clock speed, and fan speed.
Remove the front panel without changing anything else.
Repeat the workload for the same duration.
Compare temperature relative to ambient, not just the raw sensor reading.
A one- or two-degree change may indicate that the front panel is acceptable. A five- to ten-degree improvement strongly suggests that the intake is restricting the cooling system.
Do not leave the panel removed permanently without considering dust, physical protection, pets, and noise. The test is a diagnosis, not always the final configuration.
For lower-cost improvements before replacing the chassis, follow the practical checks in How to Build a High-Airflow PC Without Overspending. Cleaning filters, correcting fan direction, adjusting curves, and removing cable obstructions should come before buying six more RGB fans.
How does front panel design affect PC case airflow?
Front panel design affects PC case airflow by controlling the size, direction, and resistance of the intake path through which cooling fans draw room air toward the GPU, CPU cooler, radiator, motherboard, and storage devices, directly influencing component temperature, fan speed, acoustic output, boost stability, and dust accumulation.
A direct mesh opening usually creates less restriction, while glass and solid panels depend on side, bottom, or offset ventilation.
Is a mesh front panel better than tempered glass for cooling?
A mesh front panel is generally better than tempered glass for PC case cooling because it gives intake fans a larger and more direct air supply, although a glass-front case with wide side vents, large fans, bottom intake, and well-planned internal clearance can produce comparable results in carefully engineered configurations.
The 1°C H500M result proves glass can work; the 8 K Meshify C result proves that buyers should not assume it will. much can removing a PC case front panel lower temperatures?
Removing a PC case front panel can lower CPU or GPU temperatures by less than 2°C in a well-ventilated chassis or by approximately 5°C to 10°C in a severely restricted design, depending on fan placement, workload, ambient temperature, radiator position, filter density, hardware power consumption, and internal obstruction.
Published tests recorded about a 5°C GPU improvement for the H500P and a 10.1°C improvement for the BitFenix Enso. is the best front panel design for cooling?
The best front panel design for cooling provides a large low-resistance intake area, direct airflow to the GPU, enough space between the panel and fan blades, removable filtration, unobstructed lower ventilation, and balanced rear or top exhaust, while supporting fan and radiator sizes appropriate for the system’s actual heat output.
For most performance builds, full mesh or curved mesh is the safest choice. Ventilated glass and hybrid side-intake layouts should be judged by measured results rather than appearance.
Do more front fans always improve PC case cooling?
More front fans do not always improve PC case cooling because additional fans cannot fully overcome a blocked intake, and poorly positioned fans may create turbulence, disturb the CPU cooler’s airflow, or push warm air into a recirculation zone instead of delivering fresh air to the hottest components.
Three well-supplied intake fans usually outperform three fans suffocating behind narrow decorative slots.
Build Around the Heat, Not the Render
Stop counting fans for a moment.
Inspect the intake.
Before purchasing a case, record your GPU power, GPU dimensions, CPU power limit, cooler type, radiator dimensions, fan sizes, and expected workload. Then compare those requirements with the front-panel opening, lower GPU intake, side ventilation, dust-filter structure, and exhaust path.
For an existing build, run the front-panel removal test. If temperatures drop sharply, do not waste money trying to compensate for bad geometry with louder fans. Clean or modify the intake where safe, adjust the fan curve, or move the system into a better-ventilated chassis.
For a new system, compare airflow-led and hybrid options in AceGeek’s PC case lineup, then verify fan positions, radiator clearance, GPU clearance, and intake geometry against the actual components you plan to install.
Buy the air path first.
The glass can come second.