As CPUs become more powerful, they also become hotter. High-performance cooling is no longer a luxury—it’s a necessity. While choosing a high-quality AIO (All-In-One) cooler is the first step, where you mount the radiator is what actually determines your system's thermal efficiency and longevity.
Here is a breakdown of the three primary mounting positions and how they impact your build.
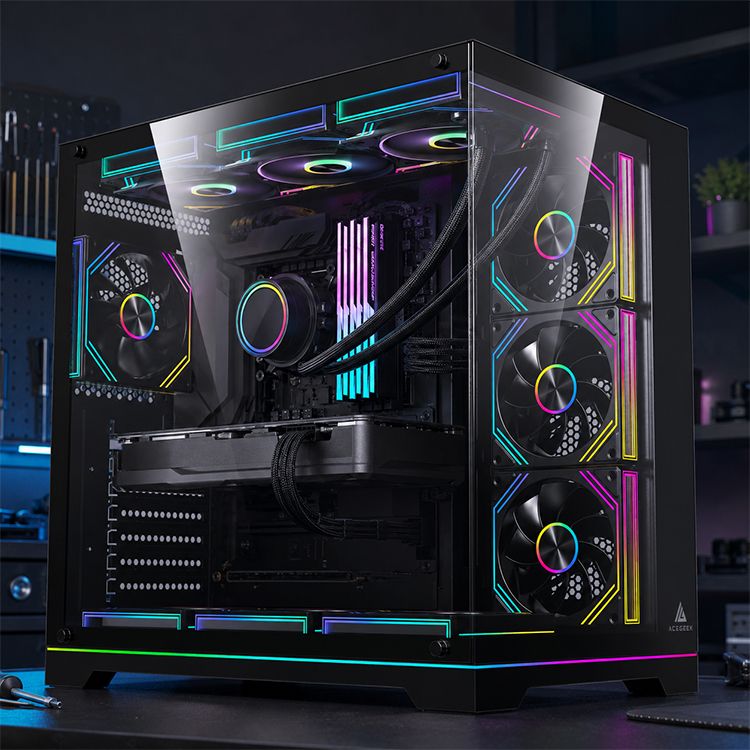
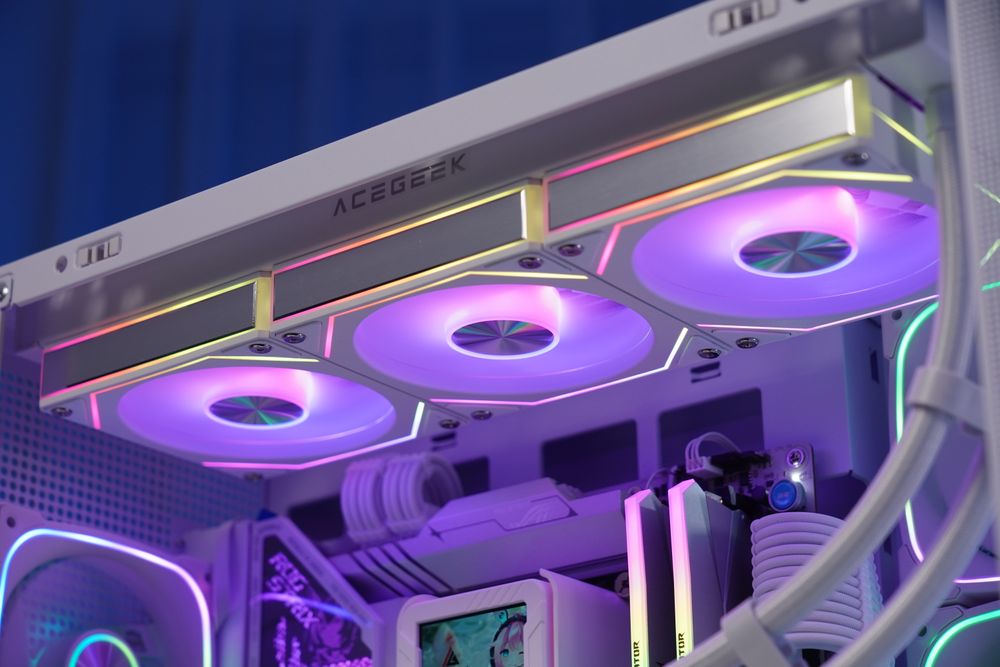
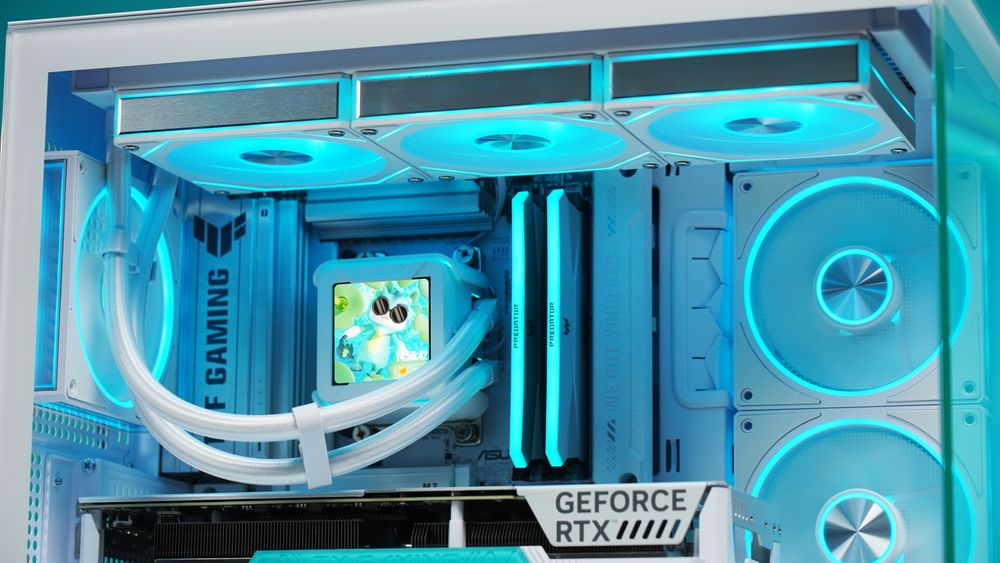
Top Panel: The Gold Standard
Mounting the radiator at the top of the case is widely considered the best overall configuration for most DIY builds.
Thermal Logic
Since hot air naturally rises (convection), a top-mounted radiator acts as an efficient exhaust, pushing heat directly out of the system.
Acoustics
This position helps prevent air bubbles from getting trapped in the pump, ensuring quieter operation and a longer lifespan for your cooler.
Pros
Natural heat dissipation; keeps the interior of the case cooler for the GPU.
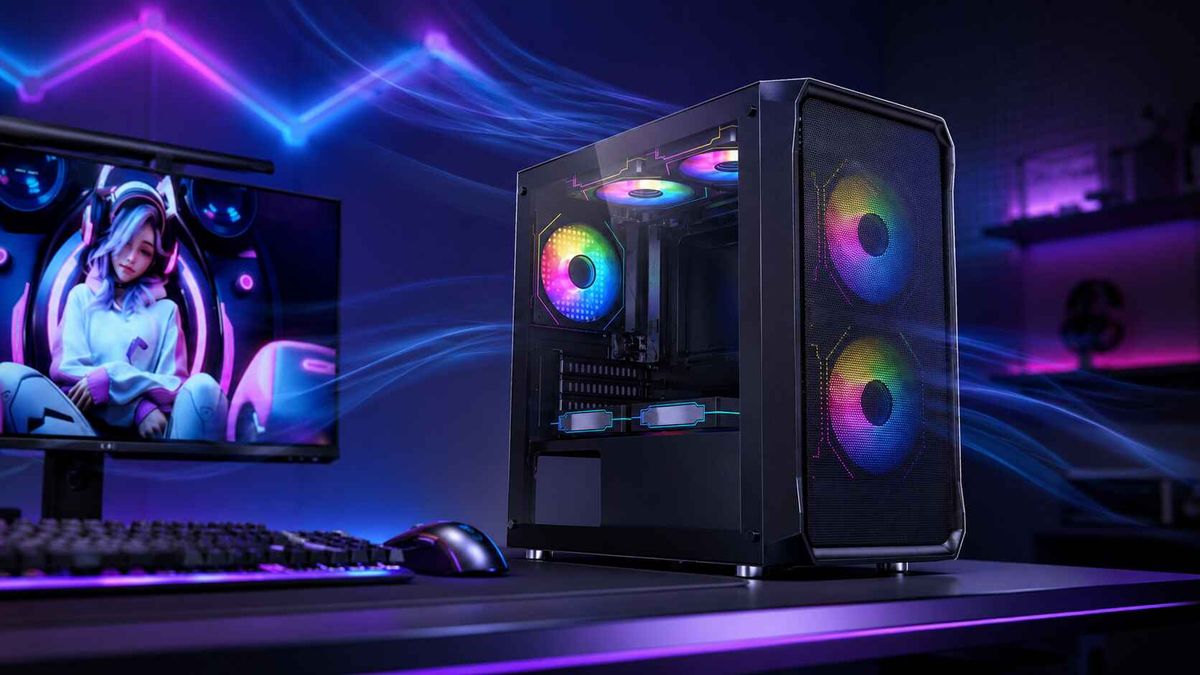
Front Panel: The Versatile Alternative
Front mounting is the go-to choice when top-mounting isn't an option due to case size or motherboard clearance.
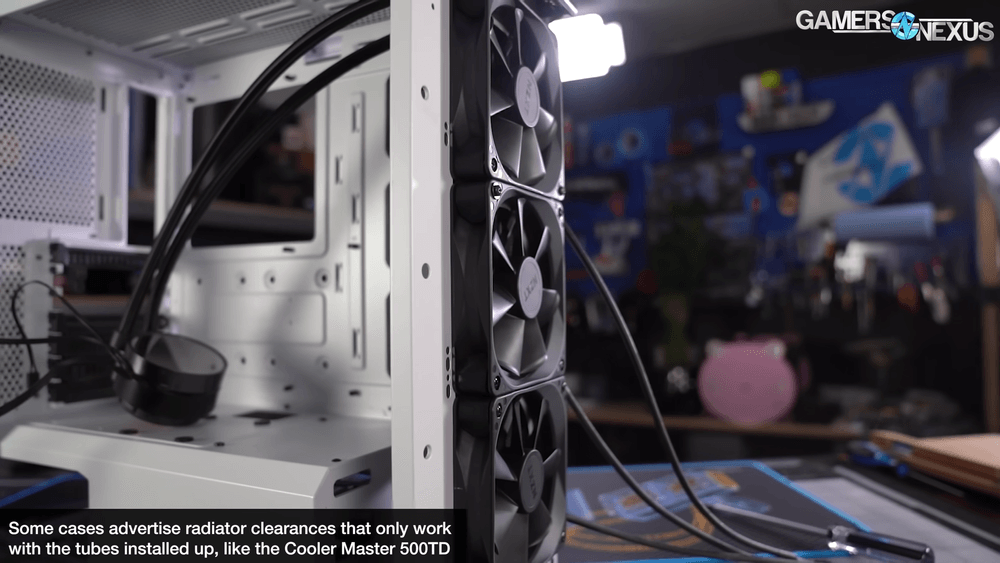
(Front Panel Installation, via Gamers Nexus)
Intake Setup
Drawing fresh, cool air from outside through the radiator provides the lowest possible CPU temperatures. However, it dumps slightly warmer air onto your GPU.
Exhaust Setup
Pushing air out the front helps keep the case interior cool but is generally less efficient for the radiator itself.
Pros
Compatibility with smaller cases; prioritizes CPU cooling.
Final Verdict
For the majority of users, Top Mounting is the clear winner. It works with physics rather than against it, ensuring your CPU stays cool while allowing your GPU to breathe. However, if your case limits your options, a front-mounted intake is a solid second choice—just ensure your case has enough secondary fans to exhaust the residual heat.