CPU Cooler Mounting Pressure: How to Spot and Fix Poor Contact
You have installed a new CPU cooler, applied thermal paste, and connected every fan. The system boots normally, but your CPU temperatures are still higher than expected.
Does this mean you need a larger radiator or a more powerful cooler?
Not necessarily.
One possible explanation is improper CPU cooler mounting pressure.
Even a high-performance air cooler or liquid cooling system can struggle if its base does not make consistent contact with the processor.
The good news is that some mounting problems can be identified and corrected without replacing the entire cooling system.
This guide explains how mounting pressure affects CPU temperatures, what poor cooler contact looks like, and how to check and reinstall a CPU cooler safely.
Why Does CPU Cooler Mounting Pressure Matter?
CPU cooler mounting pressure is the mechanical force that holds the cooler's contact surface against the processor's integrated heat spreader (IHS).
This contact is essential because heat must travel from the CPU into the cooler before it can be dissipated into the surrounding air.
The basic heat transfer path is:
CPU → Heat Spreader → Thermal Interface Material → Cooler Base → Heatsink or Radiator → Air
Although the CPU heat spreader and cooler base may appear perfectly smooth, both contain microscopic surface imperfections.
These imperfections create small gaps that can reduce the efficiency of heat transfer.
Thermal paste, also known as thermal interface material (TIM), helps fill those gaps.
Mounting pressure then helps keep the surfaces properly aligned and maintains the intended contact between them.
What Happens When Mounting Pressure Is Too Low?
When the cooler is not secured correctly, its base may not sit firmly against the CPU.
Possible consequences include:
Inconsistent contact between the cooler and processor.
Excessive or uneven thermal paste thickness.
Increased thermal resistance.
Higher CPU operating temperatures.
Reduced cooling efficiency during sustained workloads.
Can Excessive Mounting Pressure Also Cause Problems?
Yes.
Tightening mounting screws beyond the manufacturer's instructions does not guarantee better cooling.
Excessive force may damage mounting hardware, stress the CPU socket, or deform the motherboard.
In some situations, excessive or poorly distributed force can also affect the shape of the contact interface.
The objective is not to apply the greatest possible pressure.
It is to achieve the correct, evenly distributed mounting load specified for the cooler.
To understand why the material between the two surfaces matters, read our guide to what thermal paste really does and what it does not.
Five Signs Your CPU Cooler May Not Be Making Proper Contact
Poor mounting pressure does not always cause an immediate system failure.
Sometimes the computer runs normally but exhibits unusual thermal behavior.
Here are five warning signs worth investigating.
1. CPU Temperatures Are Higher Than Expected
An unexpectedly high CPU temperature can indicate inadequate heat transfer.
However, modern processors can operate at relatively high temperatures during boost workloads, so a single temperature reading does not automatically indicate a mounting problem.
Compare CPU temperature with package power, workload duration, and the processor's specified thermal limits.
If temperatures are unusually high under modest power consumption, cooler contact deserves closer inspection.
2. CPU Temperature Rises Rapidly Under Load
Some temperature spikes are normal when a processor increases its clock speed and power consumption.
However, sustained high temperatures or early thermal throttling during a relatively light workload may indicate cooling difficulties.
Possible causes include poor mounting, insufficient thermal paste coverage, fan problems, or pump malfunction.
3. One Side of the Cooler Appears Uneven
A cooler base should be installed in the position intended by its mounting hardware.
A visibly tilted mounting bracket, improperly seated screw, or incorrect spacer may prevent the cooler from making consistent contact.
Check the installation from different angles when the system is powered off.
Never attempt to straighten an installed CPU cooler by applying force to the block.
4. Thermal Paste Distribution Appears Uneven
If you remove a cooler, the thermal paste pattern may provide useful clues.
For example, a noticeably thick layer on one side and a much thinner layer on the other may suggest an uneven interface.
However, paste movement during cooler removal can alter the pattern.
Do not treat the appearance of thermal paste as definitive proof of incorrect mounting pressure.
5. AIO Coolant Temperature Seems Normal While the CPU Runs Hot
This situation is especially interesting for all-in-one liquid coolers.
A CPU may report high temperatures while the coolant remains comparatively cool.
One possible explanation is inefficient heat transfer between the processor and the cold plate.
Other causes include pump issues, sensor behavior, CPU boost activity, or measurement timing.
To interpret these readings more accurately, see our guide to CPU package temperature vs core temperature.
How to Check CPU Cooler Mounting Before Reinstalling It
Before removing your cooler, check the most common installation and operating issues.
A systematic inspection can help avoid unnecessary work.
What to CheckPotential ProblemRecommended ActionMounting screwsLoose or unevenly seated fastenersInspect against the cooler's installation instructionsMounting bracketsIncorrect or incompatible hardwareVerify CPU socket compatibilityBackplate and spacersIncorrect positioning or missing partsConfirm the required mounting configurationCooler baseProtective film left attachedRemove it before reinstallingThermal pasteMissing, old, or contaminated compoundClean and replace as instructedFan or pump connectionIncorrect header or configurationCheck wiring and operating speedCPU power settingsHigher-than-expected power consumptionCompare measured power with expected behavior
Start by checking fan and pump operation through the motherboard BIOS or suitable monitoring software.
Verify that the cooling system is operating as intended.
Next, review the mounting hardware and make sure the correct brackets, screws, and standoffs were used for your CPU socket.
If the installation appears correct but the processor still runs unusually hot, a controlled remount may be worthwhile.
How to Remount a CPU Cooler Safely
Reinstalling a CPU cooler requires care because the mounting system interacts directly with the motherboard and CPU socket.
Always follow the instructions provided with your exact cooler model.
The following steps provide a general workflow.
Step 1: Record Your Current Cooling Performance
Before changing anything, establish a baseline.
Record:
Room temperature.
CPU package temperature.
CPU package power.
Fan speed.
Pump speed, if applicable.
Workload and test duration.
Thermal throttling status.
These measurements will help you determine whether reinstalling the cooler actually improves cooling.
Step 2: Shut Down and Disconnect the System
Turn off the computer and disconnect it from power.
Allow the components to cool sufficiently before handling them.
Disconnect the cooler's fan or pump cables as required by the manufacturer's removal procedure.
Step 3: Remove the Cooler Carefully
Loosen the mounting mechanism according to the cooler manufacturer's instructions.
Where the mounting system uses several spring-loaded screws, progressive loosening may help avoid uneven mechanical loading.
If old thermal paste makes the cooler difficult to remove, follow the manufacturer's recommended method for releasing the interface.
Do not pull forcefully on a stuck cooler.
Step 4: Clean the Contact Surfaces
After removing the cooler, inspect the CPU heat spreader and cold plate.
Clean the old thermal compound using a suitable lint-free material and isopropyl alcohol, following the processor and cooler manufacturers' guidance.
Make sure the contact surfaces are clean and free from contamination.
Allow them to dry before reinstalling the cooler.
Step 5: Apply Thermal Paste Correctly
Use a thermal compound compatible with your CPU and cooler.
The appropriate quantity and application method depend on the processor shape, cooler design, and manufacturer's instructions.
For some installations, a central application is recommended.
Other designs may call for a different pattern or a pre-applied thermal interface material.
If the cooler already has undisturbed, pre-applied TIM intended for installation, additional paste may not be necessary.
Avoid mixing fresh thermal paste with old residue.
Step 6: Position the Cooler Evenly
Align the cooler with its mounting points.
Make sure the correct hardware is installed and that no cables or surrounding components obstruct the cooler base.
Lower the cooler into position according to the installation procedure.
Avoid unnecessary movement after it contacts the thermal paste.
Step 7: Tighten the Mounting Hardware as Instructed
For mounting systems with multiple screws, engage the screws before fully tightening them.
If the manufacturer's procedure specifies a diagonal tightening sequence, alternate between opposing screws in small increments.
This helps maintain balanced loading during installation.
Stop at the specified mechanical limit or torque value.
Do not continue tightening after the required position has been reached.
Different CPU coolers use different mounting systems. A torque specification for one product should never be assumed to apply to another.
Step 8: Reconnect and Test the Cooling System
Reconnect the required cables and verify fan or pump operation.
Start the computer and confirm that the cooler is functioning correctly.
Repeat your earlier temperature test using comparable settings and environmental conditions.
If temperatures improve consistently at the same CPU power and workload, the previous installation may have contributed to the cooling problem.
If the issue remains, continue investigating other possible causes rather than repeatedly increasing screw tightness.
Do Air Coolers and AIO Liquid Coolers Have Different Mounting Requirements?
Both cooling methods depend on effective contact between the CPU and the cooler base.
However, their mounting hardware and additional cooling components may differ.
Air Cooler Mounting
Air coolers generally use a heatsink, mounting bracket, and retention mechanism.
Depending on the design, the mounting system may include:
Spring-loaded screws.
A CPU backplate.
Mounting bars.
Fixed standoffs.
Retention clips.
These components determine how the cooler is secured to the motherboard.
An air cooler also depends on adequate airflow through its heatsink fins.
AIO Liquid Cooler Mounting
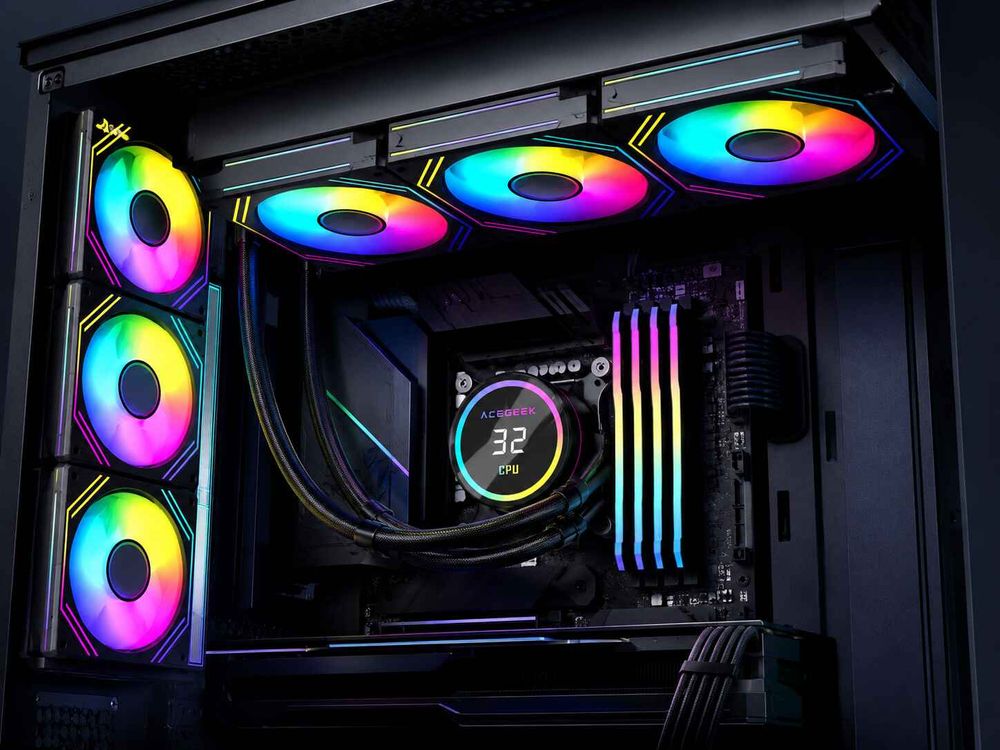
An AIO liquid cooler uses a pump/block assembly that transfers heat into circulating coolant.
The cooler still needs proper CPU contact, but the system includes additional components such as a pump, tubing, radiator, and radiator fans.
If CPU temperatures are abnormal, both the contact interface and liquid-cooling operation should be checked.
For example, a working pump does not guarantee that the cold plate is mounted correctly.
Similarly, a well-mounted cold plate cannot compensate for a malfunctioning pump or inadequate radiator airflow.
Our guide to coolant temperature vs CPU temperature for fan control explains how these measurements can help evaluate an AIO cooling system.
How Can You Tell Whether Remounting Improved Cooling?
A lower CPU temperature after reinstalling the cooler is encouraging, but it should be evaluated carefully.
Processor temperature changes with power consumption, room temperature, workload, and cooling settings.
For a meaningful comparison, keep the following variables as consistent as possible.
Test VariableBefore RemountAfter RemountCPU and BIOS settingsRecord configurationKeep unchangedCPU package powerMeasure during testMatch as closely as possibleWorkloadUse a repeatable testRun the same testTest durationRecord test lengthUse the same durationFan and pump settingsRecord operating settingsKeep consistentAmbient temperatureRecord room temperatureKeep comparable
Focus on sustained performance rather than a brief temperature spike.
If the same CPU operates at a lower sustained temperature under comparable power and cooling conditions, the new installation may be transferring heat more effectively.
However, a remount can change several things at once, including thermal paste coverage and cooler alignment.
An improved result does not necessarily prove that mounting pressure alone caused the original problem.
When Should You Consider Upgrading Your CPU Cooler?
Correct mounting is important, but it cannot compensate for a cooling system that lacks sufficient capacity for the processor and workload.
If the cooler is installed correctly and the CPU continues to reach undesirable temperatures under sustained workloads, review the entire cooling setup.
Important factors include:
CPU power consumption.
Cooler capacity.
Case ventilation.
Radiator size and positioning.
Fan performance.
Noise requirements.
CPU socket compatibility.
For high-performance processors, our guide to choosing the right CPU cooler for Intel Core i9 and Ryzen 9 provides additional guidance on matching cooling systems to demanding workloads.
If radiator airflow appears to be the limiting factor, you can also review how to choose fans for radiators or case airflow.
Before upgrading, confirm that the existing cooling system is installed and operating correctly.
Frequently Asked Questions
1. Can a Loose CPU Cooler Backplate Cause High Temperatures?
Yes. If the mounting system relies on a backplate, an incorrectly installed or unsecured backplate can prevent the cooler from achieving its intended contact pressure.
This may increase thermal resistance and contribute to higher CPU temperatures.
Check the backplate, spacers, and mounting hardware against the installation instructions before making adjustments.
Some motherboard backplates also support the processor's retention system, so they should not be removed or modified unless the manufacturer specifically instructs you to do so.
2. Why Is My CPU Hot When My AIO Coolant Is Cool?
A high CPU temperature combined with relatively cool coolant can indicate that heat is not transferring into the liquid cooling loop as efficiently as expected.
Possible causes include poor cold-plate contact, insufficient or incorrectly applied thermal paste, pump problems, or rapidly changing processor power.
This temperature difference is a diagnostic clue, not confirmation of a mounting problem.
Check pump operation, sustained CPU power, workload duration, and the cold-plate installation before drawing conclusions.
3. Do Air Coolers and AIOs Use the Same Mounting Method?
No. Although both require proper thermal contact, their mounting hardware and installation procedures can differ.
Some use spring-loaded screws, while others rely on brackets, retention clips, or fixed mounting points.
Even two coolers designed for the same CPU socket may use different installation methods.
Always follow the manual for the exact product rather than transferring tightening instructions from another cooler.
4. Should I Replace Thermal Paste After Removing a CPU Cooler?
In most conventional thermal-paste installations, replacing the compound after removing the cooler is recommended.
Removing the cooler can disturb the original thermal interface and introduce air gaps or contamination.
Clean the existing material from the CPU heat spreader and cooler base, then apply fresh thermal compound according to the manufacturer's instructions.
Some specialized thermal interface materials have different reuse requirements, so check the product guidance before replacing them.
5. Can I Use a Torque Screwdriver on Any CPU Cooler?
A torque screwdriver can be useful when the cooler manufacturer provides a specific torque requirement and the tool is suitable for the mounting hardware.
However, many consumer CPU coolers use springs or mechanical stops to control installation force.
Do not invent a torque value or copy one from another mounting system.
Using excessive torque can damage threads, mounting brackets, or other components.
6. Is an Aftermarket CPU Contact Frame Worth Installing?
An aftermarket contact frame may improve contact consistency in certain CPU and socket configurations, particularly when the original retention mechanism contributes to uneven interface geometry.
However, results depend on the processor, motherboard, cooler, and existing mounting conditions.
A contact frame is not a universal solution for high CPU temperatures.
Installing one may require modifying or replacing part of the socket retention mechanism, which introduces installation risks and potential warranty considerations.
For most users, checking the original cooler installation and monitoring temperatures should come before considering aftermarket modifications.
Final Thoughts: Proper Contact Comes Before Bigger Cooling Hardware
CPU cooler mounting pressure plays an important role in transferring heat from the processor into the cooling system.
Insufficient or uneven contact can reduce cooling performance even when the heatsink, radiator, and fans are otherwise functioning correctly.
However, tightening mounting screws beyond the manufacturer's instructions is not an effective solution.
The safest approach is to use the correct hardware, follow the installation procedure, verify cooler operation, and compare temperatures under consistent test conditions.
If your CPU runs hotter than expected, check the installation before assuming that you need a larger cooling system.
And if an upgrade is necessary, explore the ACEGEEK CPU cooler collection to review available cooling solutions and compare compatibility with your next PC build.
Effective CPU cooling begins with proper contact, correct installation, and a cooling system matched to your hardware.