Building your own PC is more than just a tech project; it’s a rite of passage for every true gamer and creator. While the process might seem daunting at first, it is incredibly rewarding to press that power button for the first time and see your creation come to life.
Step 1: Define Your Mission
Before you buy a single screw, you must determine your usage needs. Are you building a competitive gaming rig, a professional workstation for content creation, or a silent office machine?

Defining your goal prevents two major beginner mistakes:
Buying incompatible components.
Overspending on parts that don't actually improve your specific experience.
Step 2: The Anatomy of a High-Performance PC
To build a functional system, you need these essential building blocks:
CPU (Processor): The brain that executes all instructions.
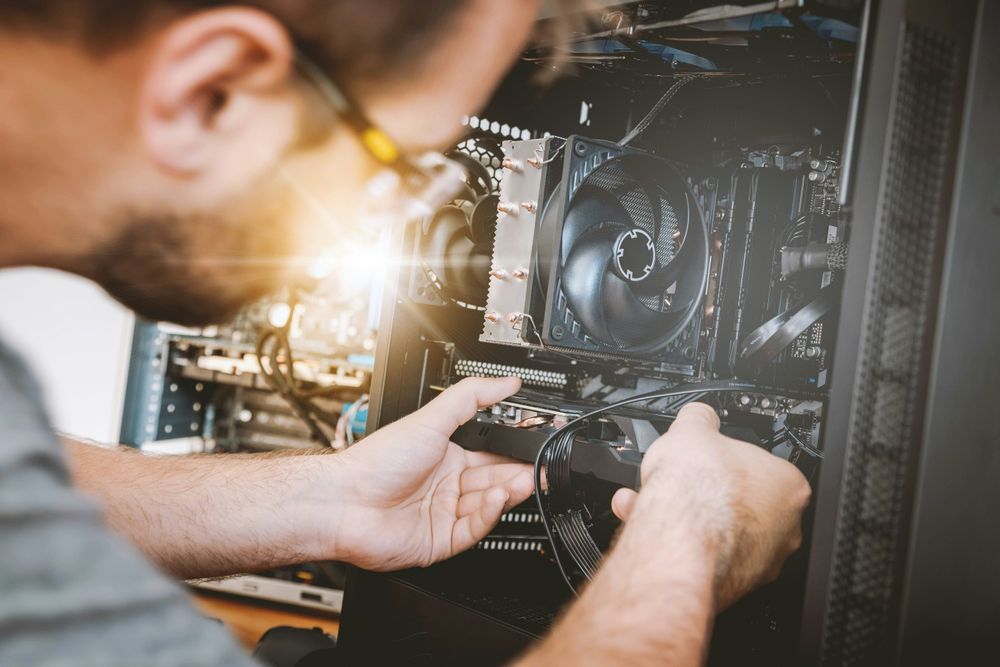
CPU Cooler: Essential for preventing Thermal Throttling. Modern processors often require an upgrade to an AIO Liquid Cooler to maintain stable boost clocks during heavy loads.
Motherboard: The central nervous system that connects everything.
RAM (Memory): Temporary storage for active data. For maximum performance, always use dual-channel configurations (two sticks instead of one).
Storage (NVMe SSD): Modern games and apps should always be installed on an NVMe SSD to avoid loading stalls and stuttering.
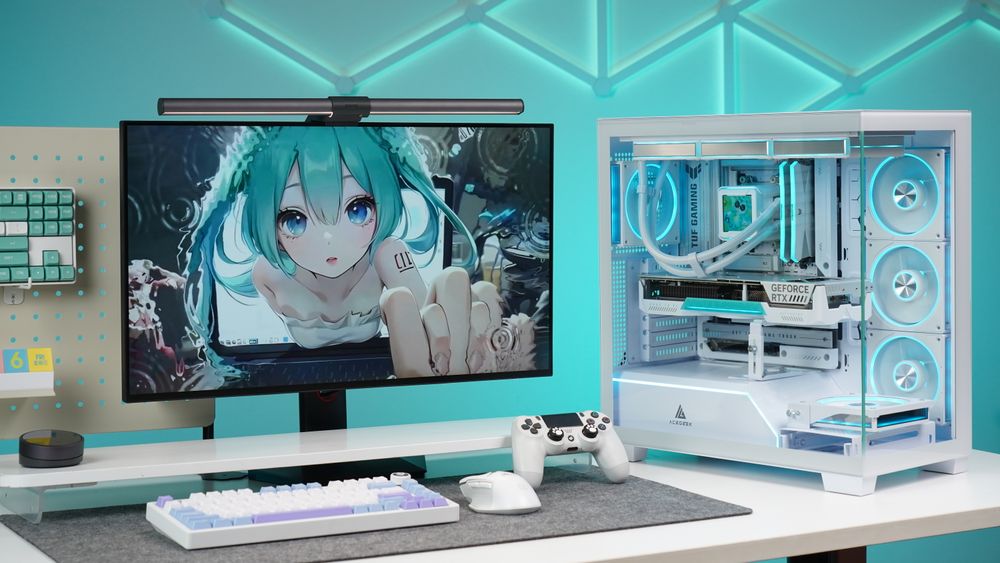
Graphics Card (GPU): The heart of gaming and rendering. To keep your GPU healthy, ensure your PC case has dedicated fans directing air straight to the card.
Power Supply Unit (PSU): Often overlooked, but critical. A high-quality, high-wattage PSU ensures your system gets clean, stable power even during intense scenes.
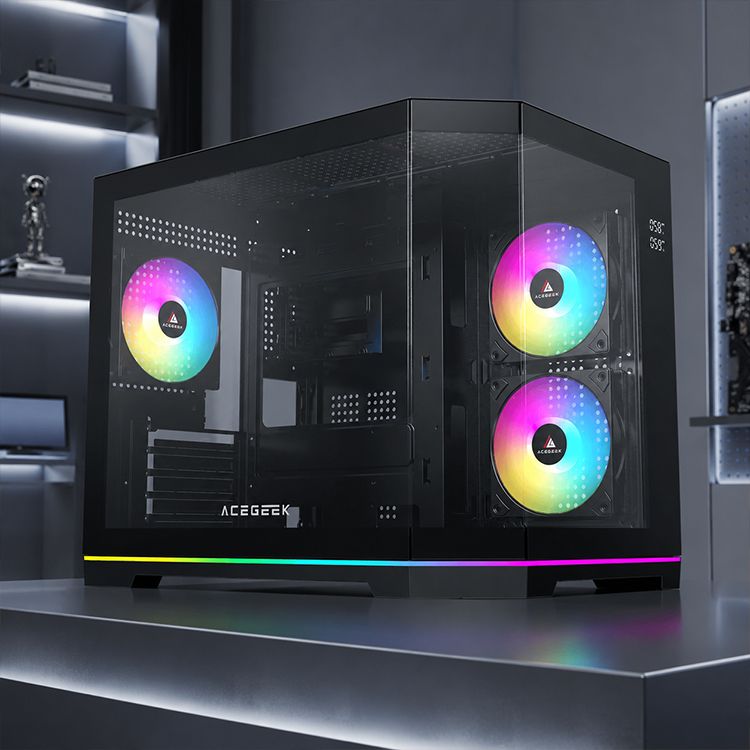
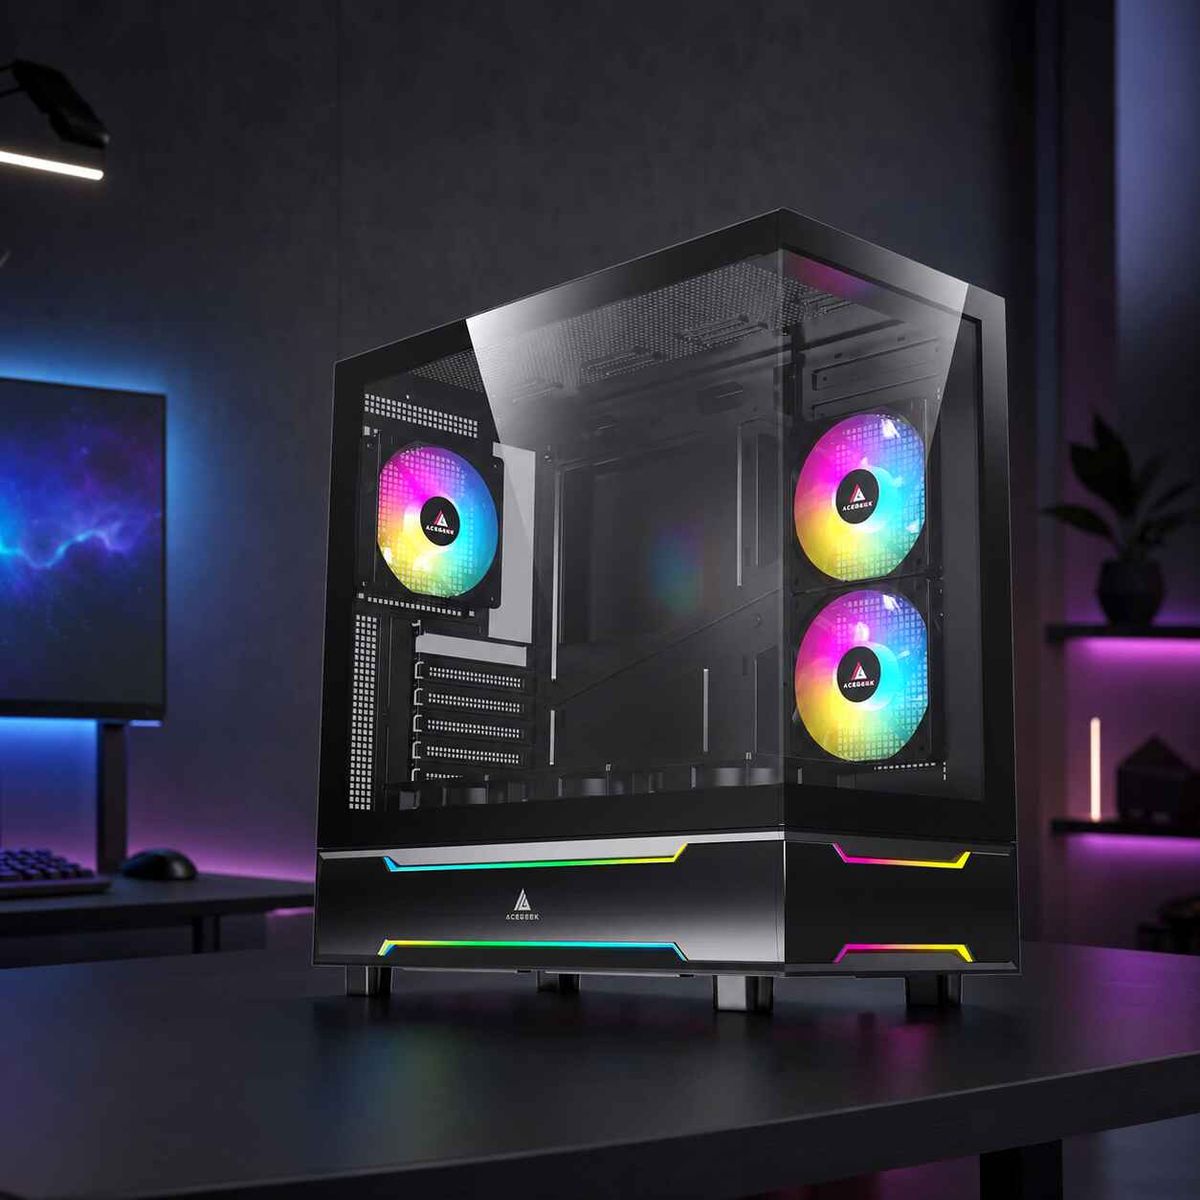
PC Case: More than just a box, a great case provides the airflow and dust filtration needed to protect your investment.

Step 3: Architecting Your Build
The best way to ensure compatibility is to use a planning tool.

Use a Compatibility Checker: Websites like PCPartPicker allow you to virtually assemble your components to check for size constraints and power requirements.
Focus on Airflow: When choosing your chassis, look for models with louvered panels or mesh designs to maximize cold air intake.
Choose the Right Fans: Don't just look at RGB. Check the bearing type. For a gaming PC, Hydro (Hydraulic) Bearing fans are the "sweet spot," offering a whisper-quiet experience with a long lifespan.
Step 4: Essential Tools for a Smooth Install
You don't need a professional workshop, but these three things are non-negotiable:

Magnetic Screwdriver: This is your best friend. It prevents tiny screws from falling into the dark crevices of your motherboard or PSU shroud.
Cable Management Supplies: Use zip ties or Velcro straps to keep cables organized. Good cable management isn't just for looks; it improves overall system airflow.
The Component Manuals: Even pros check the manual. It contains vital information on front-panel header locations and RAM slot priority.
Step 5: Maintenance for Longevity
Your build isn't finished once it's assembled. Dust is a silent performance killer that traps heat. To keep your FPS high, we recommend a quick cleaning every 3-6 months. Using a case with easy-to-remove dust filters makes this maintenance as simple as peeling off the filter and wiping it down.
Pro Tip: If you are mounting fans on the top radiator of your case, always opt for Hydro bearings. Unlike cheap sleeve bearings, they aren't affected by gravity and won't fail prematurely when mounted horizontally.
Build Your Future with ACEGEEK
Whether you are looking for a sleek panoramic view or a high-airflow mesh beast, we have the gear to keep your frames high and your temps low.