Tempered Glass PC Case Safety: How to Prevent Panel Damage
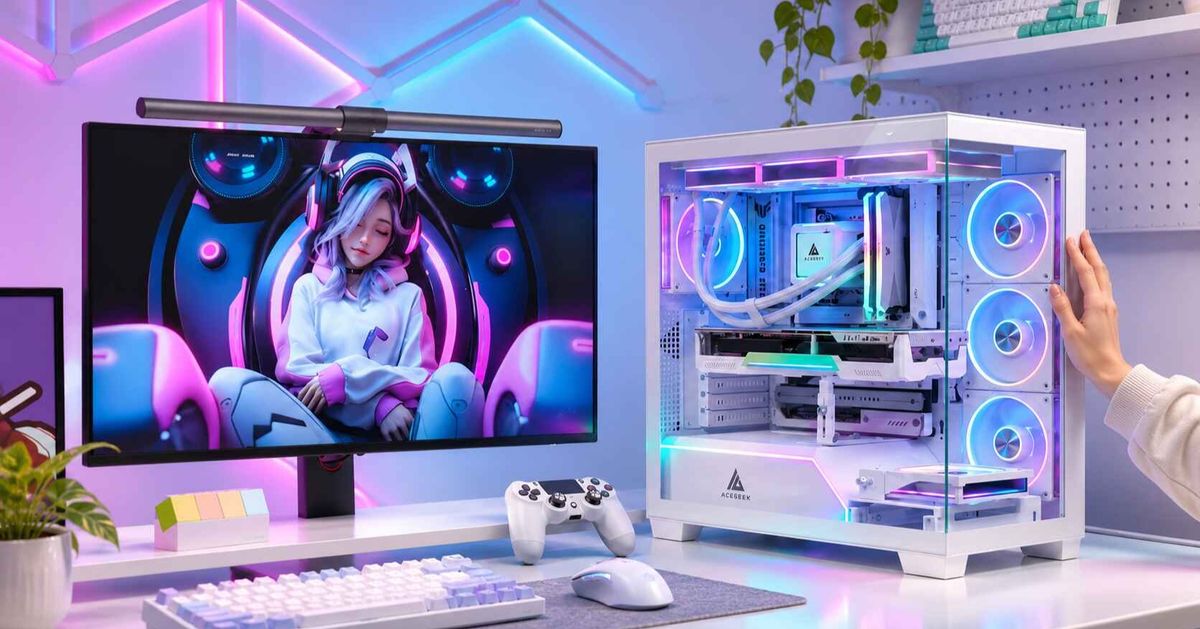
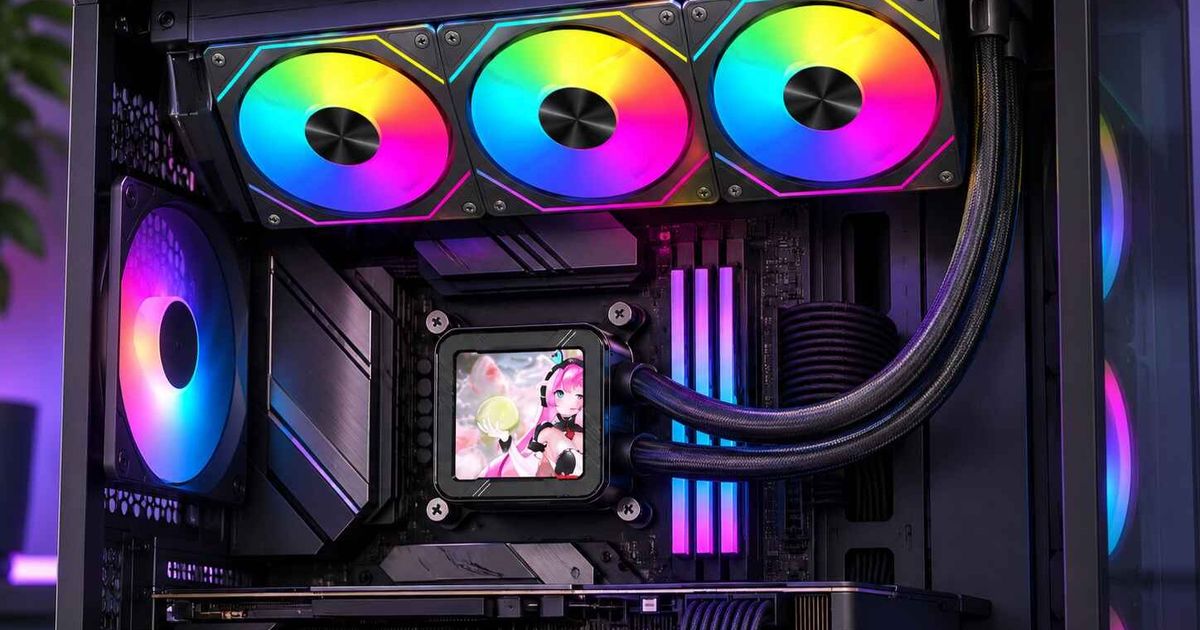
Tempered glass PC cases have become a popular choice for gaming PCs and custom builds. Their transparent panels showcase internal components, RGB lighting, and cooling hardware while providing a clean, modern appearance.
But one concern often comes up during building or maintenance: Can a tempered glass PC case suddenly shatter?
Tempered glass is designed to offer greater resistance to many types of impact than ordinary glass. However, it is not unbreakable.
A small chip along the edge, an accidental impact against ceramic tile, or excessive pressure from mounting hardware can sometimes cause an entire panel to fracture.
The good news is that many of these risks can be reduced through careful handling, proper installation, and sensible case placement.
This guide explains how tempered glass thickness affects PC case design, why glass edges are vulnerable, how to remove and install side panels safely, and what to do if a panel becomes damaged.
Is Tempered Glass Safe for PC Cases?
Tempered glass is generally suitable for PC case panels when it is manufactured and installed correctly.
Unlike ordinary annealed glass, tempered glass undergoes a controlled strengthening process that creates compressive stress near its surfaces and balancing tensile stress inside the material.
This internal stress structure improves resistance to many bending and impact loads.
It also changes how the glass breaks.
When tempered glass fractures, it typically separates into numerous relatively small pieces instead of a few large shards.
However, these fragments can still cause cuts or other injuries.
Why Can Tempered Glass Break Unexpectedly?
The strength of tempered glass depends partly on its surface and edge condition.
A sufficiently severe defect or concentrated impact can initiate a fracture that rapidly spreads through the panel.
Potential contributing factors include:
Accidental impact against a hard surface.
Damage to glass edges or corners.
Excessive or uneven mounting pressure.
Incorrectly aligned mounting hardware.
Stress caused by an unsuitable replacement panel.
Manufacturing defects or pre-existing damage.
In some cases, a panel may fracture without an obvious impact at the moment of failure.
However, determining the exact cause afterward can be difficult.
The important distinction is that tempered glass can be strong under normal use while remaining vulnerable to particular types of localized damage.
This is why correct handling and installation matter more than simply choosing the thickest available panel.
Does Tempered Glass Thickness Affect PC Case Safety?
PC case manufacturers use different glass thicknesses depending on panel size, support structure, and design requirements.
Common specifications include 3mm and 4mm tempered glass, although other thicknesses are also used.
A thicker panel generally has greater bending stiffness when other factors are comparable.
However, it also weighs more.
That additional weight places greater demands on mounting hardware, hinges, brackets, and the person removing the panel.
3mm vs 4mm Tempered Glass
Feature3mm Tempered Glass4mm Tempered GlassThickness3mm4mmRelative weightLighterHeavierBending stiffnessLower under comparable conditionsHigher under comparable conditionsMounting loadsGenerally lower due to reduced weightGenerally higher due to added weightEdge damage resistanceDepends on edge quality and processingAlso depends on edge quality and processingOverall suitabilityDepends on the engineered panel designDepends on the engineered panel design
The comparison assumes similar glass composition, processing quality, and panel dimensions.
It does not establish that either thickness is universally safer.
For example, a properly engineered 3mm panel with suitable edge treatment and mounting support can be appropriate for its intended application.
A poorly supported 4mm panel may still be vulnerable to concentrated stress.
Why Thicker Glass Is Not Always Better
Thickness cannot compensate for incorrect installation.
A thicker glass panel can still fracture if:
A corner becomes chipped.
Mounting holes are misaligned.
Metal hardware presses directly against an unprotected glass surface.
Screws are tightened beyond the intended installation requirements.
The panel is twisted during removal.
The case is placed where the glass is likely to be struck.
Before purchasing a tempered glass PC case, consider the complete panel assembly.
Look at how the glass is supported, whether its edges are protected, and how easily it can be removed for maintenance.
A well-designed mounting system is a more meaningful safety feature than thickness alone.
Why Are Tempered Glass Edges and Corners So Vulnerable?
The central surface of a tempered glass panel can tolerate many forms of distributed loading.
Edges and corners are more vulnerable to concentrated impact.
When a hard object strikes a small area near an edge, the resulting stress may be sufficient to initiate a fracture.
This is particularly important because PC builders frequently handle glass panels by their edges.
Why Ceramic Tile Can Cause Glass Shattering
Ceramic tile, granite, concrete, and other hard surfaces can create highly concentrated contact forces.
Imagine removing a glass side panel and lowering it onto a tiled floor.
Even a relatively small accidental strike against an exposed corner may damage the glass.
If the damage is severe enough, the panel can fracture rapidly.
This is also why a panel may survive years of ordinary operation but break during routine cleaning or hardware replacement.
The issue is not simply the height of a fall.
It is the way impact force is concentrated at the point of contact.
Where Should You Place a Removed Glass Panel?
Before removing the glass, prepare a suitable work area.
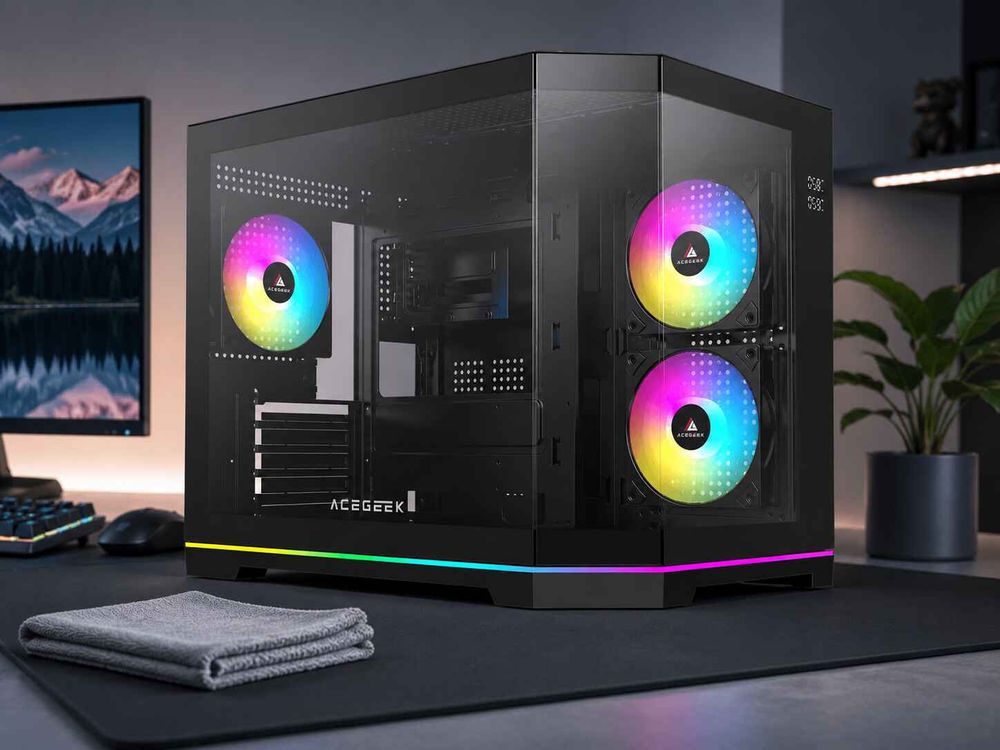
A stable wooden or laminate worktop covered with a clean, folded towel is a practical choice.
The protective material should support the panel without allowing its edges to contact hard objects.
Avoid placing removed glass directly against:
Ceramic tile.
Concrete floors.
Granite countertops.
Metal workbenches.
Exposed screws.
Hard tools.
Sharp furniture edges.
Lay the panel in the position recommended by the case manufacturer.
For conventional removable panels, placing the glass flat on a clean padded surface is often appropriate.
Do not leave the panel leaning unsecured against a wall or furniture where it could slide or fall.
Inspect the Edges Before Reinstallation
Check the glass under good lighting before reinstalling it.
Pay attention to:
All corners.
The entire perimeter.
Mounting holes.
Hinge attachment areas.
Bonded brackets.
Rubber washers.
Mounting pins and clips.
If you notice a chip, crack, or other suspected structural damage, stop using the panel and contact the manufacturer for advice or replacement.
Do not attempt to repair a damaged tempered glass panel with glue or continue using it simply because the damage appears small.
How to Remove a Tempered Glass PC Case Panel Safely
Removing a glass side panel is a routine part of PC building and maintenance.
However, different cases use different retention mechanisms.
Common designs include thumbscrews, sliding rails, hinges, magnetic catches, and quick-release clips.
Always check the manufacturer's removal instructions for your exact case.
Step 1: Turn Off and Disconnect the PC
Shut down the computer and disconnect its power cable.
Allow the system to cool before handling internal components or cleaning the panel.
This reduces the risk of accidental electrical contact and makes the maintenance process easier.
Step 2: Prepare a Padded Work Surface
Before loosening any mounting hardware, clear a stable work area.
Remove loose screws, tools, and other hard objects.
Place a clean folded towel or suitable protective mat on the surface where the panel will be stored.
Keep the panel away from the edge of the worktop.
Step 3: Identify the Panel Release Mechanism
Inspect how the side panel is attached.
For a thumbscrew-mounted panel, identify which fasteners secure the glass.
For hinged or quick-release designs, locate the intended release points.
Do not assume that every panel should be pulled outward from its upper corner.
Some designs require sliding, lifting, or releasing a latch in a specific sequence.
Step 4: Support the Panel Before Releasing It
Support the glass with both hands, particularly when handling a large panoramic panel.
If the panel uses screws, keep it supported while removing the final fastener.
If it uses a quick-release mechanism, control the panel's movement as the latch disengages.
Never allow a panel to fall or swing freely after releasing its supports.
Step 5: Remove the Panel Without Twisting
Move the panel along its intended removal path.
Do not force it around locating pins or mounting brackets.
If the panel does not release easily, stop and check the installation instructions.
Applying additional force may damage the glass or retention hardware.
Step 6: Store the Panel Safely
Place the removed panel on the prepared padded surface.
Keep its edges away from tools and other hard objects.
Do not stack heavy hardware on top of the glass.
Keep the panel in a low-traffic area until you are ready to reinstall it.
Are Quick-Release Panels Safer?
A well-designed quick-release system can simplify maintenance by reducing repeated handling of screws and allowing more predictable panel access.
However, tool-free does not mean risk-free.
The panel still needs to be supported when its retention mechanism is released.
Hinges, catches, and mounting pins must also be properly aligned and maintained.
Our guide to the benefits of quick-release PC case panels explains the different panel mechanisms and their practical advantages.
How to Reinstall Tempered Glass Without Damaging It
Correct reinstallation is just as important as careful removal.
A panel should fit naturally into its intended mounting position.
If the glass requires significant force to align with the chassis, investigate the cause before tightening anything.
Check the Mounting Hardware
Inspect the original screws, washers, hinges, and mounting brackets.
Rubber or polymer washers may help isolate the glass from metal contact and distribute mounting pressure.
If the manufacturer requires these components, do not omit them.
Replace missing or damaged mounting parts with compatible manufacturer-approved hardware.
Align the Panel Before Tightening
Position the glass according to the case instructions.
Make sure locating pins, mounting holes, or hinges are properly aligned.
For screw-mounted panels, start all relevant fasteners before completing the tightening sequence, unless the manufacturer specifies otherwise.
This helps avoid forcing one part of the panel into place while another remains misaligned.
Avoid Excessive Screw Pressure
Overtightening can introduce unnecessary mechanical stress around the glass mounting points.
For cases with hand-operated thumbscrews, follow the manufacturer's tightening instructions rather than assuming that more force provides better security.
If the manual specifies a torque value or a mechanical stop, follow that requirement.
Do not use the tightening guidance for a different case model.
If the panel rattles after installation, inspect its mounting hardware and alignment.
Do not automatically solve the problem by tightening the screws further.
Make Sure Nothing Presses Against the Glass
Before closing the panel, inspect the internal component arrangement.
Check that:
GPU power cables have adequate routing space.
Cooling tubes do not push against the glass.
Large components do not touch the panel unexpectedly.
Internal cables are not trapped between the panel and chassis.
All mounting points are aligned.
A side panel should not be used to force oversized hardware into an incompatible case.
Where Should You Place a Tempered Glass PC Case?
The location of your PC can influence both physical safety and cooling performance.
A suitable position should support the chassis securely, reduce accidental impacts, and provide adequate ventilation.
Desk Placement
A stable desk can be a good location for a tempered glass PC case.
It may reduce exposure to foot traffic, rolling chairs, cleaning equipment, and accidental contact near the floor.
However, desk placement is not automatically safer.
A large case positioned near the edge of a narrow desk can introduce a serious fall risk.
Before placing the PC on a desk, verify that:
The desk supports the complete case footprint.
The desk can safely carry the system's weight.
The case does not overhang the edge.
The surface is stable and level.
The glass panel has enough room to open or be removed.
The case is unlikely to be struck by monitor arms or other equipment.
Do not position a heavy tempered glass case on an unstable shelf or narrow piece of furniture.
Floor Placement
A tempered glass PC case can be placed on the floor when the position is stable and appropriate for the chassis.
The presence of tile beneath the assembled case does not automatically cause its glass panel to shatter.
The greater concern is accidental impact against the glass during movement or maintenance.
Floor placement may increase exposure to feet, chair wheels, vacuum cleaners, and other objects.
If you use a floor stand, ensure that it is stable and fully supports the case feet.
Avoid placing a case with bottom ventilation directly on deep carpet that blocks its intake openings.
Placement Near Walls and Furniture
Leave enough room around active ventilation openings.
A case positioned close to a wall or inside a poorly ventilated cabinet may struggle to draw in cool air or release heated exhaust.
The required clearance depends on fan locations, case design, and manufacturer recommendations.
Glass panels also need enough room for safe removal.
Avoid placing a hinged side panel where it can strike a wall or monitor stand when opened.
For more detailed advice, see our guide to how much clearance a PC needs around its vents.
Avoid Unnecessary Temperature Extremes
Tempered glass is generally suitable for the temperature changes encountered during normal PC operation.
However, unnecessary thermal extremes should still be avoided.
For example, avoid applying very cold cleaning liquid to a hot panel or exposing only part of the glass to an intense external heat source.
A normal gaming workload should not be treated as evidence that the glass itself is unsafe.
Under ordinary conditions, panel quality, mounting, handling, and impact protection are more practical safety considerations.
How to Clean Tempered Glass Without Creating Damage
Routine cleaning helps maintain the appearance of a tempered glass case.
However, cleaning should not introduce new scratches, edge impacts, or chemical damage to adjacent materials.
Start with a clean microfiber cloth.
For ordinary dust and light fingerprints, a cloth lightly dampened with distilled water is often sufficient.
If the panel has coatings, printed borders, adhesive trim, or other surface treatments, follow the manufacturer's cleaning guidance.
Avoid abrasive cleaning pads and unnecessary scraping.
Do not spray cleaning liquid directly into an assembled PC.
If the panel must be removed for cleaning, follow the safe removal procedure and place it on a padded surface.
For a detailed cleaning process, read our guide to cleaning tempered-glass PC panels without streaks.
What Should You Do If Your PC Case Glass Shatters?
If a glass panel breaks, the immediate priority is preventing injury and protecting the computer's components.
Tempered glass often breaks into relatively small fragments, but some pieces may still have sharp edges.
Step 1: Stop Using the Computer
If the system is running and it is safe to do so, shut it down.
Disconnect power before attempting to remove fragments.
Do not continue operating the computer if glass has entered its internal components or moving fans.
Step 2: Protect Yourself
Keep children and pets away from the affected area.
Wear protective gloves, closed-toe shoes, and appropriate eye protection when handling broken glass.
Avoid touching fragments with bare hands.
Step 3: Photograph the Damage
If practical and safe, photograph the broken panel and surrounding mounting hardware before cleanup.
These images may help when contacting the seller or manufacturer about replacement parts or warranty support.
Do not delay necessary safety measures simply to collect photographs.
Step 4: Remove Loose Fragments Carefully
Collect larger pieces using appropriate protective equipment and tools.
Use a dustpan, suitable brush, or other safe cleaning method for smaller fragments.
Check the floor, desk, nearby cables, and case openings.
Small pieces may travel farther than expected.
Do not use bare hands to sweep fragments from the work area.
Step 5: Inspect the Computer Interior
Look for glass fragments near:
Case fans.
GPU fans.
CPU cooling hardware.
Motherboard connectors.
Power supply ventilation openings.
Cable-management channels.
Do not reach inside a power supply or open its enclosure to remove fragments.
If glass has entered inaccessible electrical components or the PSU, arrange appropriate professional inspection or replacement.
Do not power the system on again until any contamination or damage affecting safe operation has been addressed.
Step 6: Obtain a Compatible Replacement Panel
Contact the case manufacturer or an authorized supplier.
Use a replacement intended for your exact case model.
Do not assume that a generic glass sheet with similar dimensions is suitable.
Correct compatibility includes thickness, edge treatment, mounting-hole positions, brackets, and hardware.
Avoid attempting to repair a shattered panel.
Tempered Glass PC Case Safety Checklist
Before buying, installing, or maintaining a tempered glass PC case, review these important details.
Safety AreaWhat to CheckWhy It MattersGlass thicknessManufacturer-specified panel designEnsures the intended panel is usedEdges and cornersNo visible chips or cracksReduces risk associated with damageMounting hardwareCorrect screws, washers, hinges, and bracketsSupports proper panel installationRemoval methodManufacturer-defined release procedureAvoids twisting or dropping glassWork surfaceStable and paddedReduces concentrated impact riskDesk or floor positionFull support and low collision exposureHelps prevent accidental impactsVentilation clearanceOpen intake and exhaust pathsSupports reliable PC coolingCable routingNo components pushing against the glassAvoids unintended panel loadingCleaning suppliesCompatible cloths and approved cleanersProtects glass and attached materialsReplacement partsCorrect model-specific panel availabilityMakes damage easier to resolve safely
A carefully designed tempered glass case should support both convenient maintenance and dependable cooling.
Glass-heavy designs can provide effective airflow when intake and exhaust openings are positioned appropriately.
For more information about these trade-offs, explore our guide to balancing aesthetics and cooling in tempered glass PC cases.
Frequently Asked Questions
1. Should I Keep Using a PC Case Glass Panel With a Small Chip?
A chipped tempered glass panel should not be treated as harmless simply because the rest of the surface appears intact.
Edge damage can reduce the glass's resistance to certain stresses and may increase the risk of fracture.
If you discover a chip or crack, stop using the affected panel and contact the case manufacturer for inspection or replacement guidance.
Do not attempt to hide the damage with adhesive or continue tightening the panel against its mounting hardware.
Using a manufacturer-approved replacement is generally the safer option when structural damage is present.
2. What Should I Do If My PC Case Glass Shatters?
Stop using the computer and disconnect power when it is safe to do so.
Keep other people and pets away from the affected area.
Wear appropriate protective equipment before handling fragments, and clean the surrounding work area carefully.
Inspect the computer for glass near fans, connectors, and electrical components.
If fragments have entered inaccessible areas, especially inside the power supply, seek qualified assistance rather than attempting to open the equipment yourself.
Contact the case manufacturer to obtain a compatible replacement panel.
3. Can I Put a Tempered Glass PC Case on a Tiled Floor?
Yes, a fully assembled PC case can stand on a tiled floor if the surface is stable, the chassis is properly supported, and the placement does not expose the glass to unnecessary impacts.
The main risk associated with ceramic tile is concentrated contact against the glass itself, particularly exposed corners and edges during removal or accidental impact.
If the PC is placed on the floor, keep it away from walking routes, rolling chairs, and cleaning equipment.
Do not remove a glass side panel and rest its edge directly on tile.
Use a padded work surface during maintenance.
4. Can Overtightening Thumbscrews Break a Glass Side Panel?
Yes. Excessive tightening can introduce localized stress around mounting holes or fasteners.
This is particularly concerning when the panel is misaligned or protective washers are missing.
Follow the case manufacturer's fastening instructions.
If the panel uses conventional thumbscrews, do not assume that additional force makes the installation safer.
If the panel remains loose or rattles, check the mounting hardware and alignment rather than continuing to tighten the screws.
Correct installation should secure the panel without forcing it into position.
5. Can I Cut or Drill a Replacement Tempered Glass Panel?
No. Fully tempered glass should not be cut or drilled after the tempering process.
Machining or significantly altering the glass can release internal stresses and cause it to fracture.
If you need a replacement panel, obtain one manufactured for the correct dimensions, mounting points, and edge requirements.
Do not attempt to modify a generic tempered glass sheet to fit your case.
If an original replacement is unavailable, consult the case manufacturer or a qualified glass specialist about an appropriate replacement design.
Keep Your Tempered Glass PC Case Safe for Everyday Use
Tempered glass can be an attractive and practical material for PC cases, but its safety depends on more than thickness.
Protecting the panel's edges, using the correct mounting hardware, and avoiding concentrated impacts are among the most important considerations.
Before removing a side panel, prepare a stable padded work surface. During installation, follow the manufacturer's instructions and avoid forcing the glass into position.
When choosing where to place the PC, prioritize a stable location with adequate ventilation and minimal exposure to accidental collisions.
Regular inspections and careful cleaning can also help identify potential problems before they become more serious.
If a panel becomes chipped, cracked, or otherwise structurally damaged, seek a compatible replacement instead of continuing to use it.
A well-maintained tempered glass PC case combines clear visibility with careful handling, secure mounting, and a safe installation environment.