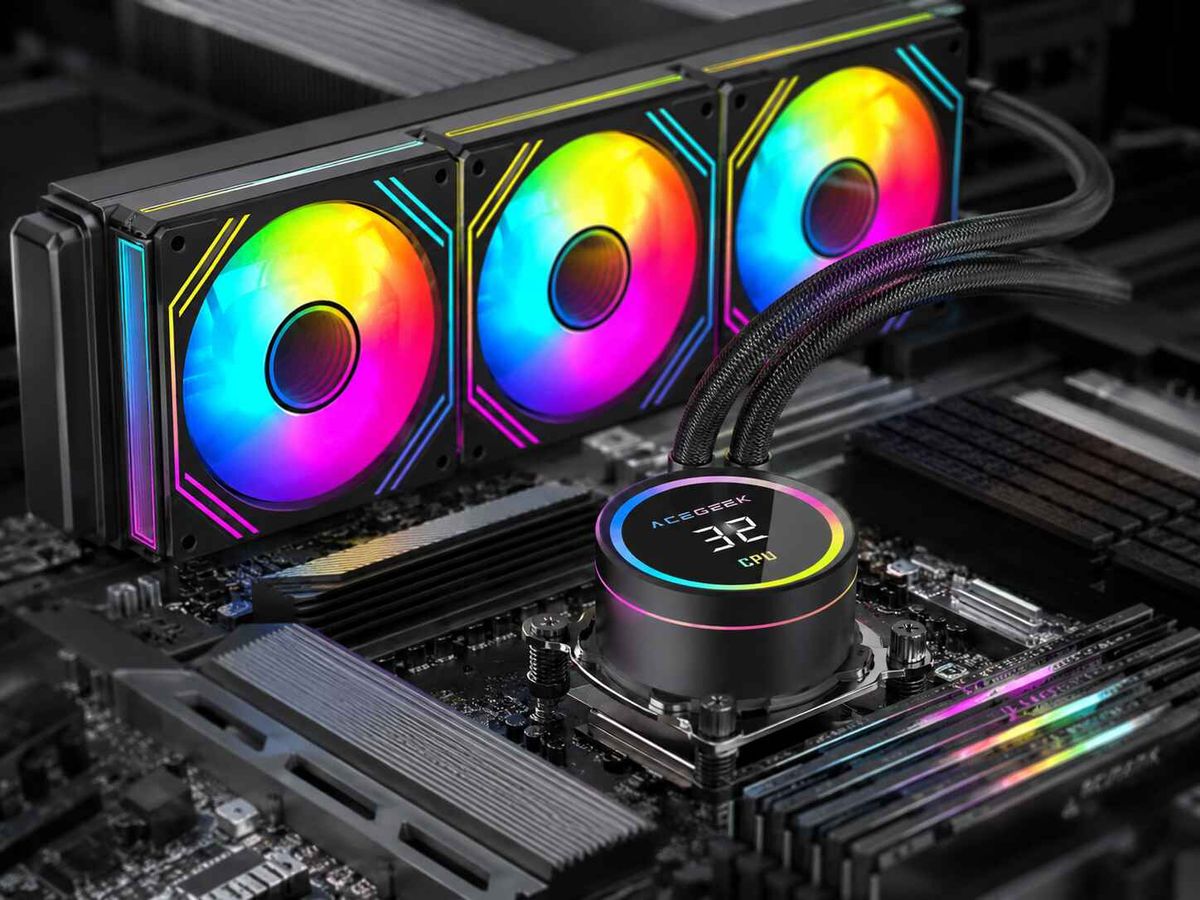
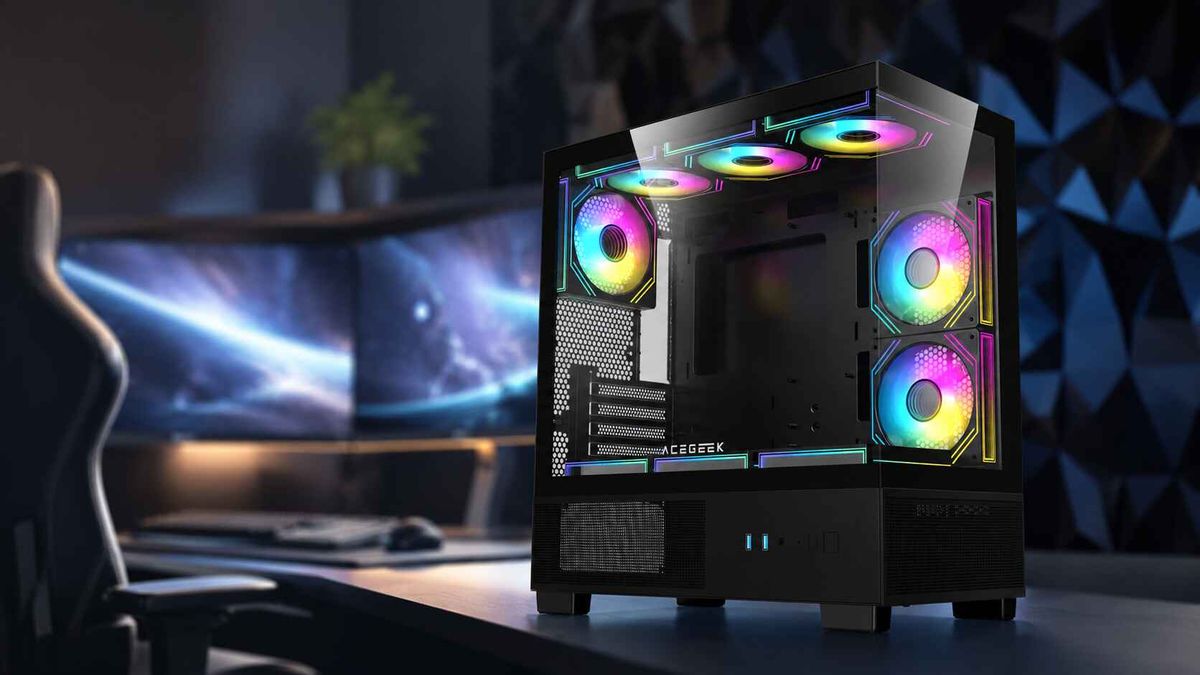
Radiator Intake vs Exhaust: How to Balance CPU and GPU Temperatures
Radiator intake usually produces lower CPU temperatures because the radiator receives cool room air. Radiator exhaust usually produces better GPU, motherboard, memory, and SSD temperatures because CPU heat leaves the chassis instead of being released inside it.
That is the basic answer.
But it is not the complete answer, because radiator size, GPU power, case restriction, ambient temperature, fan pressure, dust filters, pump speed, workload type, and the location of every other fan can reverse an apparently obvious decision.
Heat goes somewhere.
A 360 mm radiator mounted at the front as intake may make the CPU monitoring graph look excellent, yet the same configuration can feed noticeably warmer air into an open-shroud graphics card, raise GPU fan speed, increase hotspot temperature, and make the entire machine louder during gaming.
So which temperature are we actually trying to fix?
For most gaming PCs, my starting recommendation is simple: mount the CPU radiator at the top as exhaust, use front or side fans as intake, and preserve a separate supply of cool air for the graphics card. For CPU rendering, compiling, simulation, or other processor-heavy workloads, a front or side radiator configured as intake can be the better choice.
The hard truth is that there is no universally “best” radiator orientation. There is only the layout that handles your real heat load without making another component pay for the improvement.
The Practical Verdict: Intake Helps the CPU, Exhaust Helps the System
A radiator is a heat exchanger. It transfers energy from the CPU into the coolant, from the coolant into the radiator fins, and from those fins into the air passing through them.
Where that air goes determines who inherits the heat.
With an intake radiator, outside air passes through the radiator first. The CPU receives the lowest available air temperature, but the warmed radiator air then enters the chassis and travels toward the GPU, voltage-regulator modules, RAM, M.2 drives, and other components.
With an exhaust radiator, internal case air passes through the radiator and leaves the chassis. The CPU cooler receives warmer air, but the heat removed from the processor is discharged directly outside.
Official guidance from Noctua’s PC airflow guide reaches the same conclusion: front or side radiator intake generally favors CPU temperature, while a top radiator configured as exhaust generally favors GPU temperature. Noctua also advises pairing front radiator intake with top and rear exhaust so warmed radiator air does not remain trapped inside the case.
Radiator configurationCPU temperature tendencyGPU temperature tendencyInternal case temperatureBest use caseFront intakeUsually lowestMay increaseHigherCPU rendering, compiling, simulationSide intakeUsually lowDepends on GPU intake pathModerate to higherDual-chamber casesTop exhaustSlightly higherUsually lowerLowerGaming and mixed workloadsFront exhaustUsually higherCan improve if GPU has separate intakeLower near the frontUnusual layouts with bottom intakeTop intakeCan reduce CPU temperatureCan disrupt GPU exhaust flowHighly case-dependentCompact or specialized layoutsDual radiators, one intake and one exhaustBalancedBalanced with dedicated GPU intakeModerateHigh-power dual-loop systems
These are directional tendencies, not guaranteed temperature differences. Anyone promising that changing radiator direction will produce an exact 5°C improvement without knowing the case, fan speed, room temperature, GPU cooler, radiator thickness, and workload is selling certainty that does not exist.
Why Modern CPU and GPU Heat Loads Fight Each Other
In 2026, a high-end gaming system can generate a severe combined heat load. NVIDIA specifies that a GeForce RTX 5090 can draw up to 575 W, while Intel lists a 250 W Maximum Turbo Power figure for the Core Ultra 9 285K. That creates a theoretical CPU-and-GPU total of 825 W before the motherboard, pump, fans, memory, storage, and power-conversion losses are counted.
That changes the radiator intake vs exhaust debate.
In an older system with a 150 W graphics card, passing radiator-warmed air toward the GPU might have been a minor compromise. In a machine containing a 400 W or 575 W graphics card, the GPU may already be the largest sustained source of heat in the chassis.
And most modern gaming cards do not send all that heat through the rear I/O bracket. Open-air and flow-through coolers release a large portion of it back into the case, where top fans, rear fans, and the CPU radiator must deal with it.
This is why I treat gaming airflow as a GPU supply problem first and a CPU heat-removal problem second. The graphics card needs a dense, unobstructed stream of cool air near the lower half of the case. The CPU radiator needs enough airflow to remove heat without stealing that supply.
ACEGEEK’s guide to balancing CPU cooling and GPU airflow expands on this conflict, including why fan count alone tells us almost nothing about whether the GPU is receiving usable airflow.
What Real Thermal Testing Reveals
Airflow diagrams are neat. Real cases are not.
Graphics cards deflect air. Radiators restrict it. Filters load with dust. Tempered-glass panels force air through narrow side vents. Cables produce turbulence. A top-front fan can even redirect air before it reaches the component it was supposed to cool.
GamersNexus demonstrated this in its HAVN BF 360 Flow testing. The stock configuration averaged 40°C for GPU temperature in the reported test, while adding two 180 mm top fans as exhaust reduced that result to 39°C. A mixed top intake-and-exhaust arrangement raised the GPU average to 42°C, even though the top-front intake benefited CPU temperature. The test illustrates the real trade: helping the CPU airflow route can interfere with the GPU’s route.
That 3°C spread is not a universal prediction. It is evidence that fan direction can change airflow behavior in ways a simple “hot air rises” diagram will not capture.
Natural convection is weak compared with forced airflow from multiple 120 mm or 140 mm fans. Once case fans are running, fan pressure, component geometry, restrictions, and inlet location dominate the route.
PCWorld’s cooling guidance makes the practical choice clear: place the AIO radiator at the top as exhaust when GPU cooling is the priority, accepting a slightly warmer CPU in exchange for a cooler graphics card. Read PCWorld’s case-fan setup guide.
That advice is especially relevant to gaming systems, where the GPU can remain heavily loaded for hours while CPU utilization changes from scene to scene.
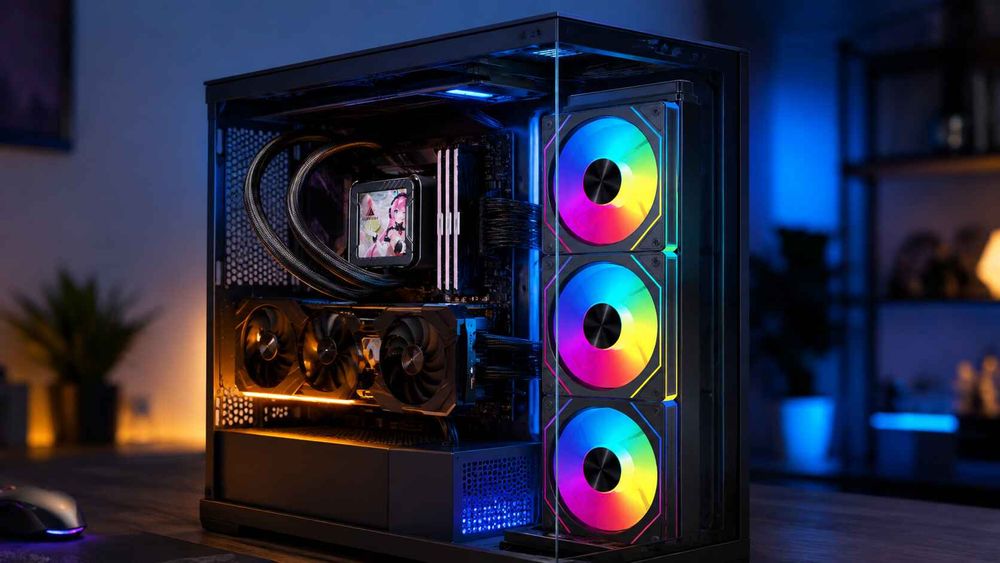
Front Intake vs Top Exhaust Radiator
Front radiator as intake
A front intake radiator gives the CPU cooling loop access to room-temperature air before another component heats it. This is normally the strongest arrangement for reducing CPU package temperature or coolant temperature.
It also creates a predictable penalty: the air leaving the radiator is warmer than the air entering it.
That warmed air may travel directly into the graphics card. The impact depends on radiator heat output, coolant temperature, fan speed, case volume, GPU position, and whether another intake supplies cool air below or beside the card.
Front intake makes the most sense when:
CPU performance is the main priority.
The GPU has direct bottom or side intake.
The case provides strong top and rear exhaust.
The graphics card uses a blower-style cooler.
The front panel has enough open area for the radiator to breathe.
The system performs sustained CPU rendering or computation.
A front intake radiator is not automatically bad for gaming. But I would not install one in front of a high-power open-shroud GPU without testing GPU core temperature, hotspot temperature, fan RPM, and noise.
For a deeper examination of that exact trade-off, see ACEGEEK’s analysis of how front-mounted AIOs affect GPU thermals.
Top radiator as exhaust
A top exhaust radiator removes CPU heat directly from the case. It also helps collect rising and fan-driven exhaust from the graphics card, motherboard, memory, and surrounding components.
The penalty is obvious: the radiator receives air that has already been warmed inside the chassis.
CPU package and coolant temperatures may therefore increase compared with front intake. But the rest of the system often benefits because the radiator is no longer preheating the graphics card.
Top exhaust makes the most sense when:
Gaming is the primary workload.
The GPU produces more sustained heat than the CPU.
The case has strong front, side, or bottom intake.
The graphics card uses an open-shroud or flow-through cooler.
VRM, memory, or SSD temperatures are elevated.
You want a simple front-to-back and bottom-to-top airflow route.
Corsair also notes that a top-mounted radiator can exhaust CPU heat instead of releasing it around the graphics card, SSD, and other internal hardware. Corsair’s radiator fan-position guide discusses this heat-removal advantage.
My default gaming layout remains front intake, optional bottom intake, top radiator exhaust, and rear exhaust. It is not glamorous. It is simply difficult to break.
Does Radiator Intake Increase GPU Temperature?
Yes, radiator intake can increase GPU temperature because air heated by the CPU radiator enters the chassis before reaching the graphics card.
But the size of that increase cannot be predicted from radiator orientation alone.
A 240 mm radiator cooling a moderate processor may add very little heat to the case. A 360 mm radiator handling a processor near 250 W under an all-core workload can create a much warmer intake stream. A bottom intake placed directly below the GPU may cancel much of the penalty. A solid front panel may make the entire arrangement fail before radiator direction even matters.
This is where many online comparisons become misleading. They test CPU-only workloads, report that front intake won, and stop.
Of course it won. The graphics card was barely producing heat.
A useful radiator comparison must include at least three conditions:
A CPU-heavy workload.
A GPU-heavy workload.
A simultaneous CPU-and-GPU workload.
The third test is the one I trust most. It exposes whether the CPU radiator and graphics card are competing for the same air, whether exhaust capacity is adequate, and whether a temperature improvement simply moved heat from one sensor to another.
Fan Direction Is Only Half the Problem
You can choose the correct radiator position and still get poor results by using the wrong fan.
Radiator fins create resistance. Dust filters, mesh panels, restrictive grilles, and narrow glass-panel vents add more. A high open-air CFM rating does not guarantee strong airflow through those obstacles.
For radiator duty, I prioritize:
Static-pressure performance
Stable PWM control
Frame sealing against the radiator
Bearing quality
Acceptable noise at medium RPM
Performance through resistance rather than in open air
ACEGEEK’s guide to choosing radiator fans versus case-airflow fans explains why static pressure, measured in mmH₂O, matters when a fan must force air through radiator fins or dense filters.
The best radiator fan configuration is not necessarily the one with the highest advertised RPM or CFM. A noisy fan running at 2,000 RPM may win a short benchmark but lose in daily use when you reduce it to 900 RPM because the sound is unbearable.
We need usable cooling. Not a specification contest.
Push, pull, or push-pull?
“Push” means the fan forces air into and through the radiator. “Pull” means the fan draws air through the radiator. Both can work.
Push is normally easier to clean because dust collects on the visible radiator face. Pull may simplify installation or improve appearance in certain cases. The performance difference is often smaller than the effect of fan quality, sealing, radiator restriction, and RPM.
Push-pull places fans on both sides of the radiator. It can help thick or restrictive radiators, but it doubles fan count, cable complexity, cost, and potential noise. I would not use push-pull on a mainstream 27 mm AIO radiator unless controlled testing showed a meaningful benefit.
Pressure Balance: Stop Counting Fans
Three intake fans do not automatically create positive pressure.
A filtered 360 mm intake radiator can move less actual air than two unrestricted exhaust fans. Radiator fins, dust filters, fan curves, panel openings, and fan models all affect real airflow.
Slight positive pressure means filtered intake airflow is somewhat greater than exhaust airflow. It usually helps limit dust entering through unfiltered gaps.
Negative pressure means exhaust airflow is stronger. It can remove heat aggressively, but it also draws air and dust through PCIe slots, panel seams, cable openings, and every other unfiltered gap.
For most radiator systems, I start near neutral or slightly positive. Then I use fan curves to make intake respond to GPU load and radiator fans respond to coolant or CPU temperature.
Do not tune pressure by fan count. Tune it by behavior.
Hold a thin strip of tissue near unfiltered openings. If air is consistently being pulled inward through every seam, the system is probably operating with negative pressure. That may be intentional, but it should not be an accident.
The Best AIO Radiator Airflow Setup by Workload
Gaming-first PC
Use the radiator as top exhaust. Feed the graphics card with front, side, or bottom intake. Keep a rear exhaust fan behind the CPU socket area.
This arrangement sacrifices a small amount of CPU cooling efficiency to prevent the CPU radiator from warming the GPU intake path.
CPU rendering or compiling workstation
Use the front or side radiator as intake. Add strong top and rear exhaust. Confirm that the graphics card remains within acceptable temperature, clock, and noise limits.
This setup gives the radiator the coolest available air, which can improve sustained CPU behavior.
Mixed gaming and content-creation system
Start with top exhaust. Test front intake only when CPU temperature, coolant temperature, or fan noise remains unacceptable.
I would rather accept a slightly warmer modern CPU than feed a 400 W-plus GPU a constant stream of radiator-heated air.
Intel explains that its processors use internal thermal-control mechanisms near their model-specific Tjunction maximum, with maximum junction limits commonly falling between 100°C and 110°C across products. AMD similarly states that processor temperature depends on the cooler, system airflow, ambient temperature, settings, and workload—not on one isolated sensor reading. Always check the specification for the exact processor rather than treating one universal temperature as safe for everything.
Compact Micro-ATX or Mini-ITX build
Ignore generic diagrams.
Compact systems often use unconventional airflow routes because the radiator, GPU, PSU, and side panels sit close together. A side intake radiator may outperform top exhaust. A rear intake may be useful. Negative pressure may help evacuate a GPU heat pocket.
Test the actual enclosure.
Dual-radiator build
Use one radiator as intake and one as exhaust as the baseline. Preserve a separate intake for the GPU whenever possible.
In a conventional tower, front radiator intake plus top radiator exhaust is a logical starting layout. In a dual-chamber chassis, side radiator intake, top radiator exhaust, and bottom GPU intake can create cleaner thermal zones.
ACEGEEK’s dual-radiator airflow planning guide covers radiator interaction, pressure balance, coolant temperature, and independent GPU intake in greater detail.
Case Layout Can Overrule Every General Recommendation
The case decides which options are physically realistic.
A top exhaust radiator is useless when the top panel is nearly solid. A front intake radiator will struggle behind thick glass and narrow side slots. Bottom intake fans may be blocked by carpet, a desk panel, cables, or a PSU shroud.
Check these before buying the AIO:
Supported radiator length and thickness
Available clearance above motherboard heatsinks
RAM height
EPS power-cable clearance
GPU length with a front radiator installed
Fan-plus-radiator total thickness
Side-panel ventilation area
Bottom clearance beneath the case
Dust-filter density
Pump and tube orientation
For example, the ACEGEEK Puzzle PC case supports radiators up to 360 mm at both the front and top, along with three front fan positions, three top positions, a rear fan, and two bottom fan positions. That flexibility allows builders to compare front intake against top exhaust without changing the entire enclosure.
But support on a specification sheet is only the first question. The next question is whether the radiator, fans, motherboard, memory, cables, and graphics card fit at the same time.
That is where builds go wrong.
How to Balance CPU and GPU Temperatures Properly
Do not flip six fans at once and call the result testing.
Change one variable.
Step 1: Establish a controlled baseline
Record:
Room temperature
CPU package temperature
CPU package power
CPU clock speed
GPU core temperature
GPU hotspot temperature
GPU power
GPU fan RPM
Coolant temperature, when available
VRM and SSD temperature
Case-fan and radiator-fan RPM
Noise at a fixed position
Keep the side panel installed. That is how the computer will normally operate.
Step 2: Fix the fan and pump curves
Use the same radiator-fan curve, case-fan curve, pump speed, power limits, BIOS settings, and software environment for both configurations.
Otherwise, you are not comparing radiator intake vs exhaust. You are comparing multiple uncontrolled changes.
Step 3: Warm the system fully
Run each test long enough for the coolant, radiator, case panels, and internal air to reach a stable condition. A three-minute benchmark may show CPU response, but it may not expose the heat that gradually accumulates around the GPU and motherboard.
For an AIO, coolant equilibrium matters.
Step 4: Test three workloads
Run a CPU-only workload, a GPU-only workload, and a combined workload. Repeat each test under the intake and exhaust configurations.
Gaming PCs should also be tested with an actual demanding game, not only synthetic tools.
Step 5: Compare noise and clocks, not just temperature
A configuration that lowers the GPU by 2°C but forces five fans to run 500 RPM faster may not be an improvement.
Likewise, a CPU may run at a high reported temperature while maintaining its expected clock speed and power without throttling. Temperature alone does not describe performance.
Step 6: Choose the least harmful compromise
The winning configuration is the one that maintains CPU performance, GPU performance, acceptable component temperatures, controlled noise, and manageable dust.
Do not optimize one sensor while ignoring everything around it.
Common Radiator Airflow Mistakes
Mounting every top fan as intake
Top intake can blow against front intake, interfere with GPU flow-through exhaust, and create turbulence around the CPU socket. It sometimes works, but it should be tested rather than assumed.
Using a front exhaust radiator without another intake path
A front exhaust radiator can pull hot internal air out, but the GPU still needs replacement air. Without strong bottom, side, or rear intake, the case may draw dusty air through uncontrolled gaps.
Assuming more exhaust always means lower temperatures
Exhaust fans cannot remove air that never entered the case. Excessive exhaust can starve the radiator or graphics card and increase dust infiltration.
Installing an intake radiator behind a solid panel
The fan cannot negotiate with glass.
If the intake area is too restricted, higher RPM often creates more noise than cooling. Lower-resistance mesh, side intake, or another radiator position may produce a better result.
Letting the top-front exhaust steal intake air
A top-front exhaust fan positioned immediately behind the front intake may remove cool air before it reaches the CPU cooler or GPU.
I frequently recommend testing with that fan disabled. Empty fan mounts are not a design failure.
Ignoring ambient temperature
A CPU at 75°C in a 20°C room is not thermally equivalent to the same CPU at 75°C in a 30°C room.
Use temperature-over-ambient when comparing tests conducted on different days. At minimum, record room temperature beside every result.
FAQs
Should a PC radiator be intake or exhaust?
A PC radiator should be intake when the lowest possible CPU or coolant temperature is the priority, while it should be exhaust when removing CPU heat from the chassis and protecting GPU, motherboard, RAM, and SSD temperatures matters more. Gaming builds usually favor top exhaust; CPU-heavy workstations may favor front or side intake.
The correct choice still depends on case ventilation, GPU power, radiator location, fan restriction, room temperature, and whether the graphics card has a separate source of cool air.
Is front intake or top exhaust better for an AIO?
Front intake is generally better for raw CPU cooling because the radiator receives cool outside air, while top exhaust is generally better for total-system balance because radiator heat leaves the chassis instead of entering the graphics card’s airflow path. Choose front intake for CPU-heavy work and top exhaust for GPU-heavy gaming.
Both layouts can perform well when the case has adequate intake area, exhaust capacity, and correctly tuned fan curves.
Does radiator intake increase GPU temperature?
Radiator intake can increase GPU temperature because air warmed by the CPU radiator is discharged inside the case before reaching the graphics card, although the actual increase may be negligible or substantial depending on CPU power, radiator size, GPU cooler design, bottom intake, case volume, fan speed, and front-panel restriction.
Measure GPU core temperature, hotspot temperature, clock speed, fan RPM, and noise under a sustained combined workload before deciding whether the penalty matters.
What is the best radiator fan configuration?
The best radiator fan configuration uses static-pressure fans to move air through the fin stack, follows one coherent airflow route, supplies the radiator and GPU with adequate intake, and exhausts heated air without recirculation or opposing fan streams. Push and pull can both work; push-pull is mainly useful for thick or restrictive radiators.
Fan quality, radiator sealing, PWM behavior, noise, filters, and panel restriction usually matter more than whether the fan is mounted on the visible or hidden side of the radiator.
How do I balance CPU and GPU temperatures?
To balance CPU and GPU temperatures, prioritize cool intake for the component producing the greatest sustained heat, provide a clear exhaust route for the other component, fix all fan and pump settings, and compare radiator intake against exhaust under CPU-only, GPU-only, and combined workloads while recording temperature, clocks, power, RPM, and noise.
For most gaming systems, that means direct front, side, or bottom intake for the GPU and a top-mounted CPU radiator configured as exhaust.
Is positive or negative pressure better with an AIO?
Slight positive pressure is usually the best AIO baseline because filtered intake airflow helps control dust while supplying the radiator and graphics card with predictable cool air, although near-neutral or slightly negative pressure may improve heat removal in compact cases or enclosures with restrictive front panels and strong side, bottom, or rear intake openings.
Do not determine pressure by counting fans. A filtered intake radiator may move less real air than a smaller number of unrestricted exhaust fans.
Should radiator fans push or pull air?
Radiator fans may either push air into the radiator or pull air through it because both arrangements can provide effective cooling when airflow direction, fan pressure, sealing, and speed are appropriate; push is often easier to clean, while pull may improve installation clearance or appearance in cases where the fan frames would otherwise obstruct components.
The temperature difference is often smaller than the differences caused by radiator placement, intake-air temperature, panel restriction, and fan RPM.
Test Your Radiator Layout Before Buying More Fans
Start with the workload that matters most.
For a gaming PC, configure the radiator as top exhaust and preserve front, side, or bottom intake for the GPU. For a CPU workstation, test the radiator as front or side intake with strong top and rear exhaust.
Then record the numbers.
Run the same workload, at the same room temperature, with the same fan curves and side panel installed. Flip only the radiator direction. Compare CPU package temperature, GPU core and hotspot temperature, coolant temperature, clock speed, fan RPM, and noise.
Do not let one attractive CPU number approve a layout that makes the graphics card hotter and louder.
And do not let an online airflow diagram overrule your own controlled results.
Build the route. Test the load. Keep the configuration that cools the whole machine—not merely the component with the most visible monitoring graph.